Saved Snapchat With Text How to Remove It
Ever tried to remove a caption from a Snapchat photo you’ve already saved? If you have, you know it's frustratingly impossible to do within the app. Once that text is on there and saved, Snapchat essentially bakes it right into the image file.
Think of it like painting a picture. The text isn't just a sticker you can peel off later; it’s become part of the actual paint on the canvas. The app flattens everything—text, stickers, filters—into one single layer.
So, Why Can’t You Just Erase It?
When you save a Snap, the text becomes a permanent part of the image's pixels. Unlike working with a layered file in a program like Photoshop, there's no separate text element to grab and delete. Snapchat's editing tools in Memories are great for adding new things, but they can't undo what's already been merged into the photo.
This is a really common headache, and it's a big technical limitation.
- Baked-In Text: The caption is integrated directly into the image data.
- No Going Back: Once it's saved to your camera roll, that text is there to stay... at least, as far as Snapchat is concerned.
- A Universal Problem: Billions of Snaps are made every day, which means tons of people run into this exact issue.
This is exactly why third-party tools are a lifesaver. For a platform with over 432 million daily active users, it’s a huge gap in functionality. With roughly 38% of users being between 18-24, people are constantly creating content they might want to clean up and reuse later. You can find more stats about Snapchat's user base and see just how big this audience is.
The bottom line is you need a tool that’s smart enough to figure out what was behind the text and recreate it. It has to digitally "paint over" the caption so perfectly that you can't tell it was ever there. This is where AI-powered editors come in.
Choosing Your Best Tool for Removing Snapchat Text
When it comes to stripping text from a saved Snap, not all tools are created equal. The best method for you really boils down to what you need. Are you after a quick, no-fuss fix on your phone? Or are you aiming for a perfect, professional-grade edit that you're willing to work for?
Let's break down the main options. Each has its own trade-offs between speed, quality, and how much effort you'll have to put in.
Dedicated AI Websites
For most of us, an online tool designed specifically for this job is the way to go. Websites like SnapCaptionRemover are built for one thing and one thing only: zapping text overlays from images. You upload your photo, the AI works its magic, and you download the clean version a few seconds later. It’s that simple.
- Speed: The whole thing is automated and usually takes just a moment.
- Ease of Use: It’s incredibly straightforward. If you can upload a file, you can use this.
- Quality: The results are surprisingly clean, especially if the background isn't too complicated.
Powerful Desktop Software
If you're a perfectionist and need pixel-perfect results, nothing beats professional desktop software like Adobe Photoshop. Using features like Content-Aware Fill or the Clone Stamp tool gives you manual control to meticulously rebuild the area behind the text.
This path gives you the absolute best quality, but it's not for the faint of heart. It requires a paid subscription and a decent amount of practice to master. Honestly, it's often overkill for a simple Snap, but it's the right choice for those photos that absolutely have to be flawless.
My Two Cents: For the average saved Snap, a specialized AI tool hits the sweet spot. It delivers great results without the headache of complex software. Desktop editors are powerful but usually more than you need for this task.
Mobile Editing Apps
Mobile apps like Snapseed or TouchRetouch offer a great middle ground. They’re right there on your phone and give you more hands-on control than an automated website, but they're way simpler than wrestling with Photoshop. Their "healing" or "object removal" tools work well for edits on the fly.
The downside? Working on a tiny screen can be a bit clumsy, and some free apps might downgrade your photo's quality. For a deeper dive, check out our guide on the best apps to remove Snapchat captions, where we compare a few of the top contenders.
Comparing Methods to Remove Text From Saved Snaps
To make the choice easier, I've put together a quick comparison. This table breaks down the pros and cons of each approach to help you decide which one fits your situation best.
| Method | Best For | Ease of Use | Cost | Result Quality |
|---|---|---|---|---|
| AI Websites | Quick, easy fixes for most photos | Very Easy | Often Free/Freemium | Good to Excellent |
| Desktop Software | Professional, high-stakes images | Difficult | Subscription-based | Flawless |
| Mobile Apps | On-the-go edits with some manual control | Moderate | Free or one-time fee | Good |
Ultimately, there's no single "best" tool—it's all about what you're trying to achieve. For a quick and clean result with zero hassle, an AI tool is almost always the right call.
Using an AI Tool to Get Your Snap Looking Clean
So, you've got a great Snapchat photo saved, but that pesky text caption is ruining the vibe. How do you get it off? The easiest way by far is to use an AI tool designed specifically for this. Let's walk through how it actually works, using a typical text remover as our example.
You don't need to be a Photoshop wizard or have any fancy editing skills. Seriously. These tools do all the complicated stuff for you behind the scenes.
Getting Your Snap Ready
First things first, find that saved Snap in your phone’s gallery. Once you’re on the tool's website, you’ll see a pretty obvious "Upload Image" button or a box where you can just drag and drop the file. It’s designed to be super straightforward.
After you select your picture, it'll pop up in the site's editor. Most of these tools have a clean, simple layout so you're not bombarded with a million confusing buttons. It keeps the focus on the one thing you’re there to do: remove the text.
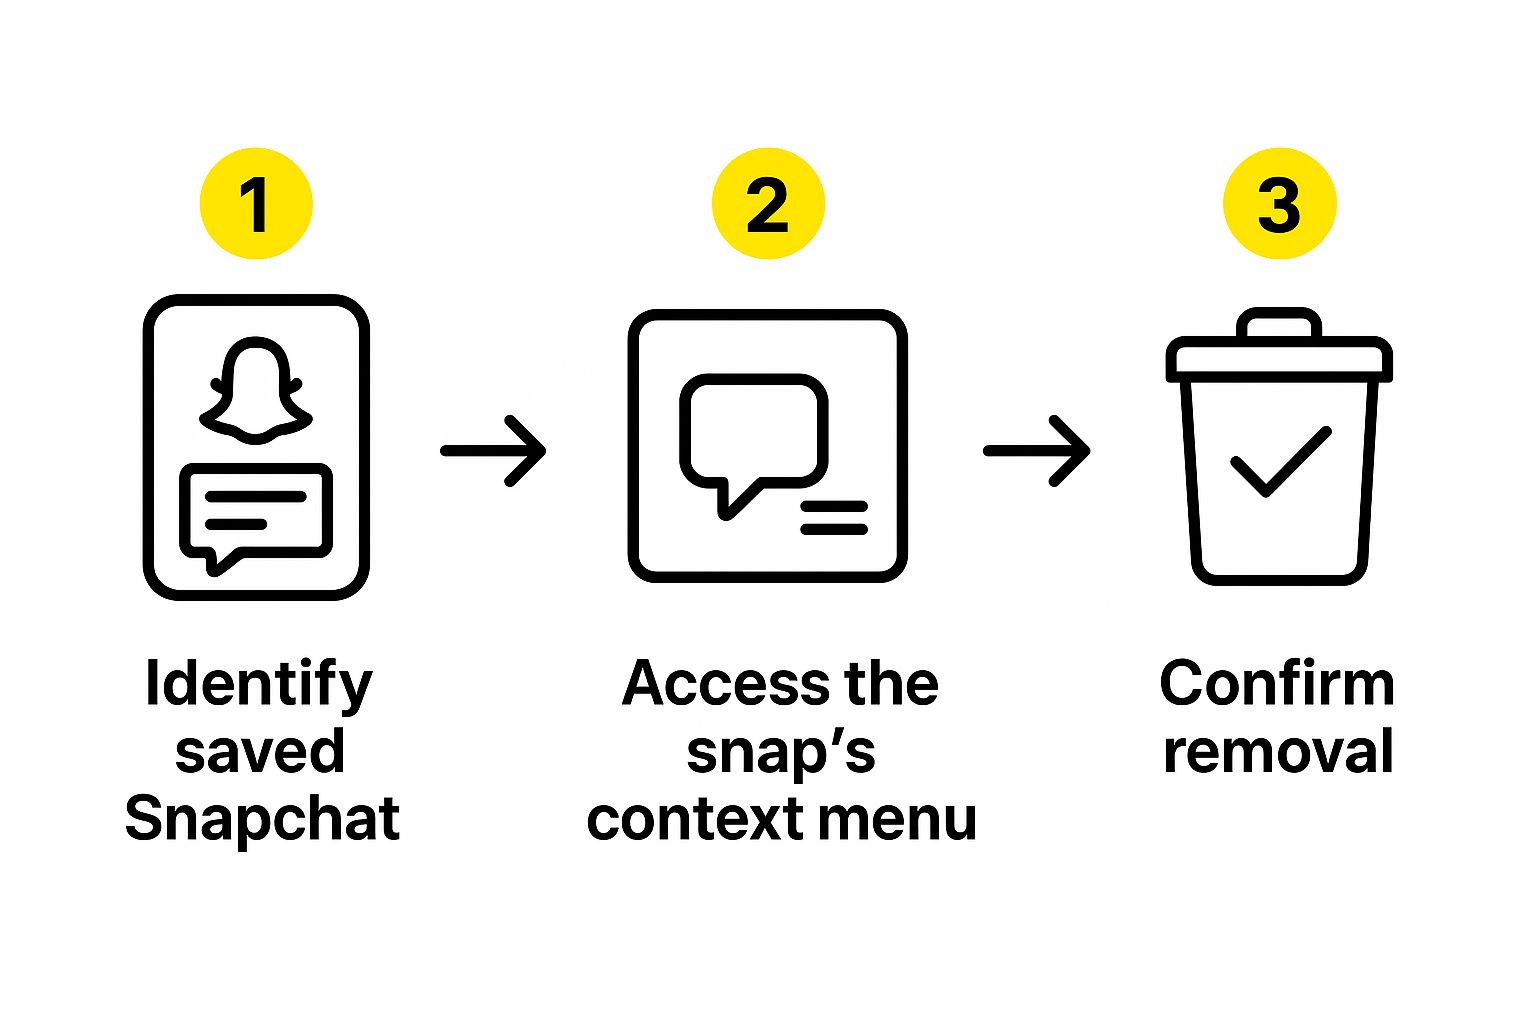
Painting Over the Text to Erase It
Now for the fun part. The tool will give you a brush or a highlighter. All you have to do is "paint" over the caption, sticker, or timestamp you want to get rid of.
Pro Tip: Zoom in on the picture to get a more accurate selection. Make sure you cover the entire text, including any little shadows or outlines. Don't stress about being perfectly neat—the AI is smart enough to handle slightly messy selections.
Once you’ve got the text covered, you’ll hit a button that says something like "Remove" or "Erase." This is where the AI kicks in. It instantly analyzes the area around your selection and intelligently fills in the background, making it look like the text was never even there.
Downloading Your Finished Picture
The AI usually only takes a few seconds to work its magic. Then, poof—you’ll see the cleaned-up version of your Snap. You can check it against the original to make sure it looks good. If you’re happy with it, just hit the download button to save the high-resolution image to your device. It’s a quick and surprisingly effective process.
If you’re curious about what else artificial intelligence can do for your photos and videos, you can learn about top AI tools for editing.
And for a more detailed look at this specific technology, check out our guide on using an https://snapcaptionremover.com/blog/ai-snapchat-text-remover.
Advanced Tips for a Flawless Photo Edit
Let's be real—while AI tools are amazing, they aren't magic. Sometimes, you'll notice little digital ghosts left behind, like a tiny blur or a weird patch. This happens most often when the text was sitting on top of a really busy background, like a floral shirt or a detailed cityscape.
Think of the AI as doing 90% of the tough work for you. That last 10% is where a little human touch can take your photo from "pretty good" to "wait, was there ever text here?"
Polishing the AI's Work
Once the AI has done its thing, I'll often pull the image into a more powerful photo editor on my phone or computer for a final once-over. This is where tools like the clone stamp or a healing brush really shine, letting you fix the tiny imperfections the AI might have missed.
For instance, if the tool left a soft edge where a crisp line should be, I’ll use the clone stamp to borrow a bit of clean texture from a nearby area and gently paint over the spot. It’s a game-changer for getting those details just right. If you want to dive deeper, our guide on https://snapcaptionremover.com/blog/how-to-remove-text-on-photoshop walks you through these exact techniques.
Preserving Image Quality
After all that effort, the last thing you want is to ruin your perfect edit by saving it the wrong way. Every time you re-save a JPEG, it loses a little bit of quality. It's a subtle process called "generation loss," but it adds up.
Here's how I avoid it:
- Work with PNGs: Whenever possible, save your final version as a PNG file. It's a "lossless" format, which is just a fancy way of saying it doesn't throw away any image data to shrink the file size.
- Max Out JPEG Quality: If you have to use a JPEG, crank the quality setting up to the max—usually 90-100. This keeps the compression to a minimum.
It's clear people want more control over their content. Just look at a premium service like Snapchat+, which has already pulled in around 15 million subscribers. This hunger for better editing and management of saved snaps is exactly why mastering these techniques is so valuable.
And if you're feeling creative and want to do more than just remove text, you should definitely check out AI style transfer techniques. It's a super cool way to give your cleaned-up snaps a whole new artistic vibe.
Common Editing Blunders (And How to Dodge Them)

When you’re desperate to figure out how to remove text from a saved Snapchat, it’s all too easy to make a few classic mistakes that can totally wreck your picture. I’ve definitely learned this the hard way. One of the biggest culprits is simply trying too hard.
That's right—over-editing is a real problem. When you go all-in with a clone tool or healing brush, you often end up with a blurry, artificial-looking patch right where the text used to be. A much better approach is to make a series of small, precise adjustments instead of one big, sloppy one. The whole point is to make it look like the caption was never there in the first place.
Forgetting to Save a Backup
Here's another one that gets people every time: editing your original file directly. Just don't do it. Before you even think about removing text, make a copy of that Snap. It takes two seconds and can save you from the massive headache of realizing you've made a permanent, ugly change with no way to go back.
A few other common slip-ups I see all the time include:
- Grabbing the wrong tool: A smudge tool might seem like a good idea, but it just pushes pixels around and creates a mess. You need a tool designed for object removal.
- Ignoring the background: If the area you're fixing doesn't perfectly match the texture, lighting, and grain of the surrounding background, your edit will stick out like a sore thumb.
Remember, the best edit is the one no one can tell you made. A little patience and avoiding these simple blunders will give you a much cleaner, more natural-looking photo every time.
Got Questions About Cleaning Up Your Snaps?
It's one thing to know how to remove text from a picture, but it's another to navigate the finer points. If you've ever wondered about the technical or ethical side of things, you're not alone. Let's clear up a few common questions.
Can I Get Text Off a Saved Snapchat Video?
The short answer is yes, but it’s a whole different ballgame. Taking text off a video is a lot trickier than with a still photo. You'd need some serious editing software, like Adobe After Effects, that can analyze the video frame-by-frame to paint over the text while matching the background movement.
Honestly, it's a ton of work and takes a good bit of skill to make it look seamless. For now, tools like SnapCaptionRemover are focused on photos.
Will These Tools Make My Photo Blurry?
Not really. Most modern AI tools are pretty smart about keeping your photo's original quality intact. The real culprit for quality loss is usually the file format itself.
Every time you save a JPG, it gets compressed a little more, which can eventually make it look grainy.
Pro Tip: Always start with the highest quality version of your Snap you have. Once you're done editing, save the final, clean version as a PNG file. PNGs don't lose quality when you save them, so your image will stay crisp and clear.
Is It Cool to Edit Someone Else’s Snap?
This one is more about respect than technology. If it's your own photo, go for it! But if you’re thinking about editing a picture someone else sent you, you should pause.
Altering someone else's content without their explicit permission can get into sticky territory with privacy and even copyright. The best rule of thumb is simple: just ask them first.
Ready to see it in action? Take SnapCaptionRemover for a spin and watch those captions disappear. You can get started in seconds.