Remove Text From Image With AI
Ever wondered why you'd even need to remove text from an image in the first place? It’s not just about tidying up a picture. For marketers, designers, and even just regular folks trying to fix a family photo, this skill is surprisingly useful. It's about taking back control of your visuals.
Let's break down some common situations where erasing text can be a lifesaver.
Making an Image Your Own
Think about the last time you found the perfect stock photo for a blog post, only to see it had "Sample Text Here" plastered across it. Annoying, right? Instead of ditching a great image, removing that text lets you customize it for your brand. It turns a generic visual into something that feels like it was made just for you.
This is a huge deal for content creators who need a constant stream of fresh visuals. You can take one high-quality image and adapt it for a dozen different uses, all by swapping out the text.
Speaking to a Global Audience
Here’s a big one for businesses: localization. Say your company is rolling out a new marketing campaign across several countries. An amazing ad with English text isn't going to hit the same way in Spain or South Korea.
By stripping out the original text, you create a clean canvas. From there, your regional teams can add translated text that actually connects with their local audience. It’s a simple step that makes your brand look professional and culturally aware.
This very need is fueling a massive boom in editing tools. The market for AI image editing software was valued at around $5.12 billion in 2024 and is expected to explode to nearly $39.7 billion by 2030. That growth is coming from industries like e-commerce and advertising that absolutely depend on fast, clean image editing. You can find more insights about the AI image editing market and its rapid expansion online.
Before we dive into the "how-to," it's helpful to pinpoint exactly what you're trying to achieve. The right approach often depends on your end goal.
Here’s a quick table outlining some common scenarios.
Common Scenarios for Removing Image Text
| Scenario | Primary Goal | Example |
|---|---|---|
| Marketing & Branding | Maintain brand consistency and repurpose assets. | Removing a watermark or placeholder text from a stock photo. |
| Content Localization | Adapt visuals for different languages and cultures. | Erasing English text from an ad to replace it with Japanese. |
| Personal Photo Restoration | Clean up old or scanned photos for a timeless look. | Getting rid of the orange date stamp on a photo from the 90s. |
| Social Media & Memes | Create a blank template for new, viral content. | Deleting the original caption from a popular meme image. |
| User-Generated Content | Repurpose customer photos for official channels. | Removing a Snapchat sticker or caption from a customer's post. |
This table should give you a clearer idea of how text removal can be applied in different contexts, helping you zero in on what you need for your own project.
Fixing Photos and Having Fun
It's not all business, though. The need to remove text pops up in personal projects all the time.
- Saving Old Photos: Remember those old film photos with the bright yellow date stamp in the corner? Removing it can instantly make a picture feel classic and clean again.
- Cleaning Up UGC: A customer might share an awesome photo of your product, but it's covered in Instagram stickers or a big, distracting caption. A quick edit makes it perfect for your official social media feed.
- Making Memes: All great memes start with a clean template. Removing existing text is step one to creating your own version of whatever's going viral this week.
The real magic of text removal is how it turns a specific, one-off image into a flexible asset you can use for any audience or purpose.
Ultimately, knowing how to do this gives you the freedom to make sure every image works perfectly for your goal, whether that’s building a global brand, restoring a precious memory, or just making your friends laugh.
Choosing the Right AI Text Removal Tool
Not all tools that remove text from an image are created equal. For a long time, the only real game in town was sophisticated desktop software like Adobe Photoshop. And while Photoshop is incredibly powerful, it's also famous for its steep learning curve and subscription costs. That makes it overkill for most people who just need to clean up an image quickly.
Thankfully, modern AI platforms have completely changed the landscape. They give you a much simpler, browser-based alternative that can deliver professional-looking results without needing to watch hours of tutorials. It really boils down to what you value most: raw power, affordability, or ease of use.
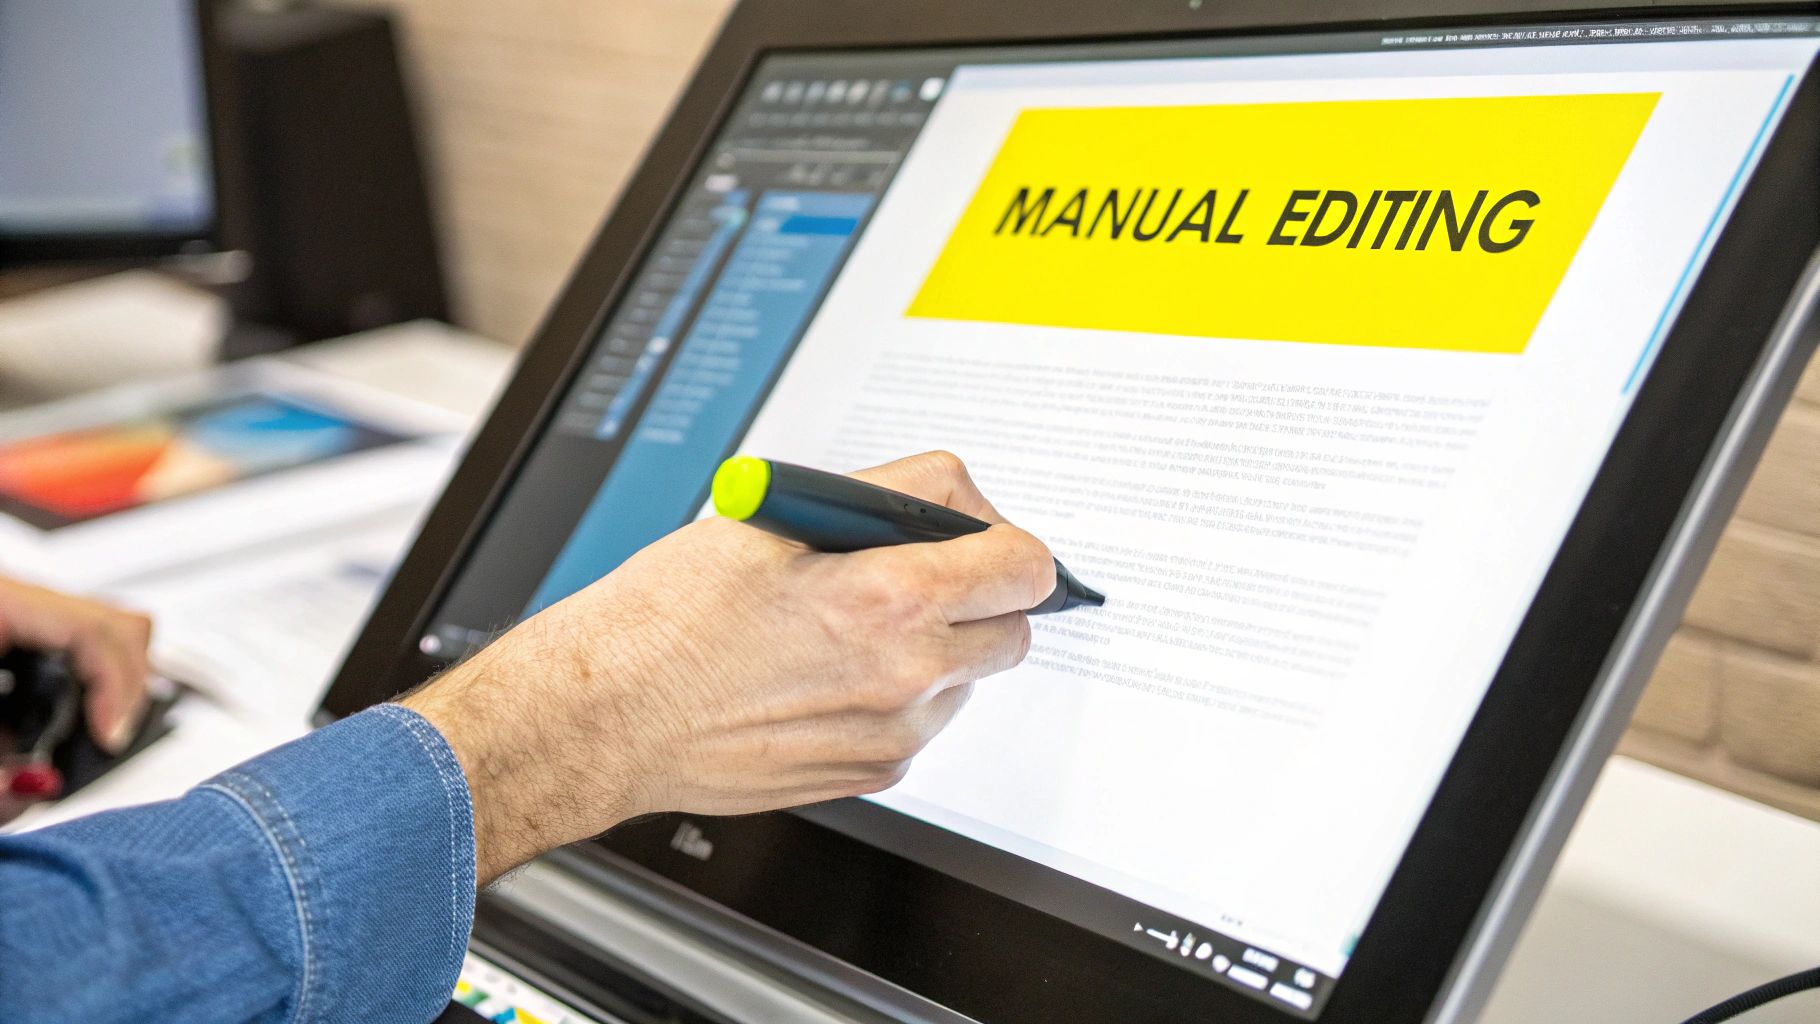
The image above gives you a peek into a typical AI text remover's interface. See how clean it is? The tools are straightforward and designed for one job: selecting and erasing unwanted objects like text.
What to Look For in a Good Tool
When you're trying out different AI removers, a few key things can make a huge difference.
First, always check what file types it supports. You want a tool that can handle the basics—like .jpg, .png, and .gif—without any fuss. This flexibility means you won't get stuck just because your image is in a certain format.
Next, pay close attention to the selection tools. A clumsy, oversized brush just won't cut it, especially when you're trying to remove text that's snuggled up against important details in your photo. You need precision. For a closer look at how these selection tools work in practice, check out our guide to AI remove text from image for some real-world examples.
The secret to a clean removal is a precise selection. The better you can isolate just the text, the more flawlessly the AI can fill in the background.
Finally, think about the AI itself. The best tools use advanced AI that's been trained specifically to recognize text and intelligently rebuild the area behind it. This is what prevents those blurry, smudged artifacts you see with older or less-sophisticated tools. They should offer adjustable brushes or lasso tools to give you full control over the process.
So, Which One Is for You?
Making the final call really comes down to what you're trying to accomplish.
- For the pros: If you're a graphic designer working on complex, layered projects, Photoshop's granular control is still tough to beat.
- For almost everyone else: An online AI tool is the way to go. It’s faster, there's nothing to install, and it's built to do one thing perfectly: get rid of text.
Think about your daily needs. Are you cleaning up a meme for a social media post? Restoring a cherished old family photo with a handwritten date on it? Or just adapting a stock image for your blog? In all these cases, the sheer speed and simplicity of a dedicated AI tool are a huge advantage. You can upload, highlight, and download a clean image in literally seconds. That kind of efficiency is exactly why these tools have become so popular.
Your Guide to Removing Text With AI
Alright, you've picked your tool, so let's get down to business and erase that pesky text. The great thing about modern AI is that you don't need to be a Photoshop wizard to get a clean, professional result. The whole process is surprisingly straightforward.
We're essentially going to show the AI exactly what we want gone. You'll highlight the text, and the AI will work its magic to intelligently reconstruct the background behind it. It’s like having a smart eraser that already knows what the image is supposed to look like underneath the words.
Kicking Off the Process
First things first, you need to upload your image. With a tool like SnapCaptionRemover, this is as simple as it gets. You'll see a big "Upload" button or a drag-and-drop area. Just grab your image file—whether it's a .jpg from your last vacation or a .png you saved from Instagram—and load it up.
Once your picture appears in the editor, you'll see your toolkit. The main tool you'll be reaching for is the selection brush. For most situations, this is the only thing you'll need to use to paint over the text you want to get rid of.
This image really captures the simplicity of the process.
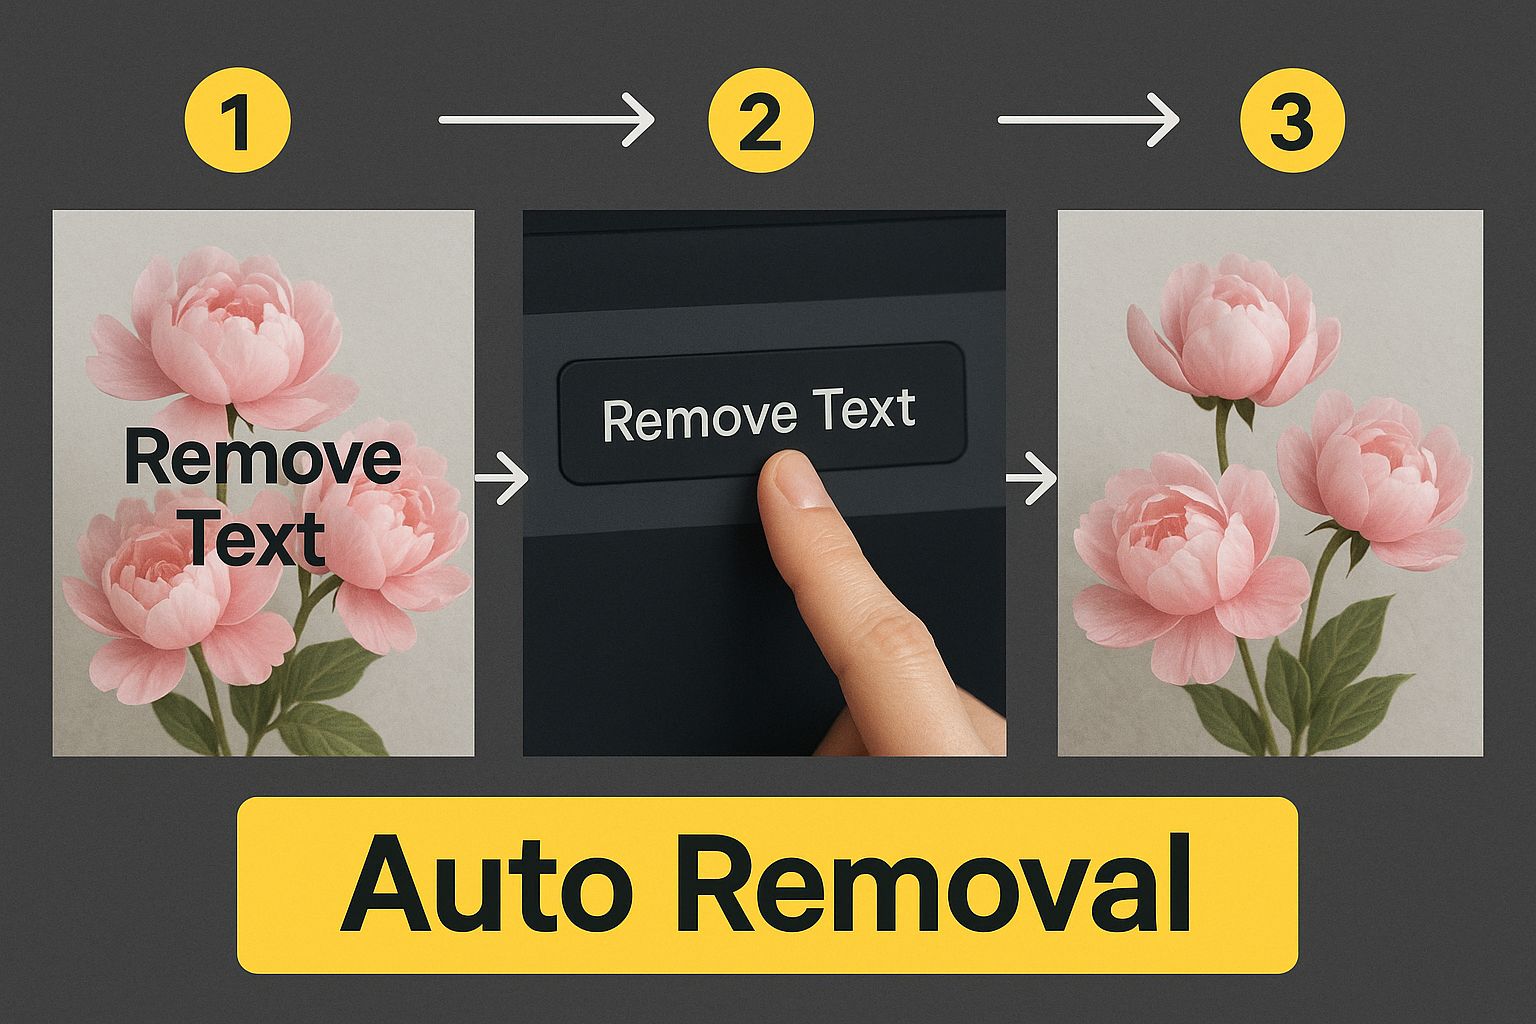
It’s a great visual for how one simple action from you can kick off the AI's complex work, giving you a clean image in seconds.
Mastering Your Selection
Here’s a pro tip: the quality of the final image comes down to how well you select the text. A messy selection almost always leads to a messy result. Take your time here—precision is your best friend.
Start by adjusting your brush size. A smaller brush offers much better control, which is critical when the text is sitting close to someone’s face or a detailed part of the background. And don't hesitate to zoom in! Getting a close-up view makes it so much easier to trace the letters accurately without painting over parts of the image you want to keep.
For a perfect selection, keep these points in mind:
- Cover It All: Make sure your highlighted area covers every last bit of the text, including any faint shadows or outlines.
- Stay in the Lines: Try not to color too far outside the text's edges. The more extra background you select, the more information the AI has to process, which can sometimes confuse it.
- Use the Lasso for Curves: If you're dealing with curved or weirdly shaped text, the lasso tool often works better than a standard brush for getting a tight, accurate selection.
The whole point of the selection is to create a mask that tells the AI, "Get rid of everything inside this shape and don't touch anything outside of it." A clean, tight selection gives the clearest possible instruction.
The AI Magic and Final Result
Once you've highlighted the text, you'll hit a button that says "Remove" or "Erase." This is where you hand the reins over to the AI. The tool instantly analyzes the pixels surrounding your selection to figure out the background—is it a brick wall, a clear blue sky, or a patterned shirt? It then uses that context to generate brand-new pixels that fill in the gap where the text used to be.
This whole process is surprisingly fast, usually taking just a few seconds.
When it's finished, you'll often see a "before and after" slider. This is your moment to be critical. Does the result look natural? Are there any blurry spots or strange artifacts? If you want to see more real-world examples, check out our complete guide on how to remove text from image online.
If you’re happy with how it looks, the last step is to download your new, text-free image. Most tools offer a high-resolution download, so you won’t have to worry about losing quality. And just like that, your image is ready to be shared or saved.
Advanced Techniques for a Flawless Finish
Sometimes, a quick once-over with the removal tool just won't cut it. You'll know what I mean if you've ever tried to remove text from an image with a really tricky background—think text sprawled across a patterned shirt, a detailed wood grain table, or a busy city street.
This is where you can go from a pretty good result to something truly seamless. You just need to know how to work with the AI, not against it.

Instead of highlighting a whole sentence and hoping for the best, the trick is to break the problem down into smaller, more manageable pieces.
Handling Complex Backgrounds
When text is sitting on top of a detailed or repeating pattern, selecting the entire thing at once can sometimes overwhelm the AI. It's trying to guess what the underlying texture looks like across a large area, which can occasionally lead to blurry spots or unnatural-looking patches.
A much smarter approach is to tackle the text word-by-word. For extremely intricate backgrounds, you might even work letter-by-letter. By making these smaller, more focused removals, you give the AI a much clearer and more localized area to analyze and reconstruct. This helps it preserve the integrity of things like fabric weaves or wood textures, leaving a far more believable finish.
The growth in AI tools built for these exact tasks has been incredible. In 2024, the market for this specific type of AI image editor was valued at around $80.3 million. It's not just a niche tool for individuals; large companies make up over 42% of the users. They're using this tech to automate tough edits, like cleaning up product photos, without needing a graphic designer for every little change. You can dive deeper into these fascinating AI image statistics to see how fast this space is moving.
Cleaning Up Shadows and Artifacts
After the text is gone, zoom in and take a close look. Every now and then, you might notice a faint shadow or a slight color imperfection where the text used to be. This is pretty common, especially if the original text had a drop shadow or a glow effect.
No need to panic—this is an easy fix.
Just grab the selection brush again, but this time, make the brush size much smaller. Carefully paint over only the leftover shadow or discolored spot and click the remove button again. It’s like using a digital spot cleaner, wiping away those last few imperfections for a perfect result.
The goal is to make it look like the text was never there in the first place. A few small, extra steps can be the difference between an obvious edit and a truly professional-looking image.
Think of it this way: your first pass gets rid of the main problem—the text itself. These little follow-up steps are all about polishing the final image. Once you start using these more refined techniques, you'll be able to tackle even the most challenging text removals with confidence.
2 Common Pitfalls to Dodge When Erasing Text
Knowing how to remove text from an image is one thing, but knowing what not to do can save you a ton of headaches. I’ve seen it countless times—a few simple mistakes can turn a potentially perfect edit into a blurry, smudged mess. Let's walk through the most common slip-ups so you can avoid them from the get-go.
Pitfall #1: The "All-at-Once" Selection
It’s tempting, I know. You see a big block of text, so you highlight the whole thing in one go, click remove, and cross your fingers. More often than not, this approach doesn't work out so well.
When you make a huge selection, especially over a detailed background, you're asking the AI to fill in a massive blank space. It gets confused because it doesn't have enough nearby background information to work with. The result? That classic blurry patch that screams "this was edited."
Instead, think smaller. If you have a sentence, try removing it a few words at a time. This gives the tool a much better chance to analyze the immediate surroundings and create a seamless patch for each small section. It takes a few extra seconds, but the clean result is well worth it.
Pitfall #2: Forgetting to Get a Closer Look
Working on an image while fully zoomed out is a recipe for a sloppy edit. From a distance, you can't see the fine details. You'll either paint over parts of the background you wanted to keep or, just as bad, miss tiny fragments of the letters. This leaves behind weird artifacts that ruin the final look.
Always, and I mean always, zoom in. Get right up close to the text you're removing. This lets you trace the outline of the letters precisely with the brush tool.
A clean, tight selection is the single most important factor for a flawless result. Think of it as giving the AI a perfect stencil to work from.
Zooming in ensures you’re only telling the AI to remove the text itself, which is the key to a clean, professional-looking edit. It’s a simple habit that prevents a world of frustration. For a deeper dive into best practices, check out our full guide on how to remove text from image free.
Solving Common Text Removal Issues
Even when you follow the best advice, you might run into a few tricky spots. I've put together this quick troubleshooting table to help you diagnose and fix the most common issues people face.
| Problem | Likely Cause | How to Fix It |
|---|---|---|
| The removed area is blurry or smudged. | The selection was too large, confusing the AI. | Work in smaller, more targeted sections. Remove one or two words at a time instead of a whole paragraph. |
| Little bits of letters are left behind. | The selection wasn't precise enough, or you worked while zoomed out. | Zoom in close! Make sure your brush tool completely covers the text without grabbing too much background. |
| The new background looks repetitive or patterned. | The AI is cloning a simple, nearby texture over and over. | Try making a slightly larger or differently shaped selection to give the AI more varied background information to sample from. |
| The tool struggles with text on a complex object (like a face or patterned shirt). | The background is too intricate for a simple fill. | This is tough for any tool. Be patient and use a very small brush. You may need to do multiple small passes and touch-ups. |
Think of this table as your first line of defense. Most problems can be solved by adjusting your selection size or getting a closer view of your work area.
Frequently Asked Questions
Even with a tool as simple as SnapCaptionRemover, you might have a few questions floating around. That's perfectly normal. Let's walk through some of the things people often ask, so you can get started with total confidence.
Can AI Really Remove Text Perfectly From Any Image?
That’s the million-dollar question, isn't it? The honest answer is: it depends on the picture.
If you have text on a simple, solid-colored background, the AI can work wonders. I mean, it's often so good you'd never know there was text there in the first place. The technology is smart enough to rebuild that background flawlessly.
But what about the tricky stuff? Think of text slapped over a busy pattern, someone's hair, or a detailed cityscape. In those cases, the AI still does an incredible job, but a super-close look might reveal tiny imperfections. The key is setting realistic expectations. The more complex the background, the tougher the challenge for the AI.
What's the Best Image Format to Use for Removing Text?
For the best results, always feed the AI a high-quality image. Your best bets are formats like PNG or a high-quality JPG.
Here’s why: these formats hold more detail and data. When the tool goes to work removing the text and rebuilding what was behind it, it has more information to draw from. This leads to a much cleaner, more believable result. If you start with a low-resolution, heavily compressed image, you're giving the AI less to work with, which can sometimes result in a slightly blurry or smudged finish.
A great rule of thumb is to always start with the best quality source file you can get your hands on. You can always compress it later, but you can't magically add back detail that was never there.
Is It Actually Legal to Remove Text or Watermarks?
This is a really important one, and something people should always consider. The legality all comes down to one thing: copyright.
-
When it's okay: If you own the image or have a license to use and modify it, you're in the clear. Editing your own photos, for example, is perfectly fine. Same goes for a stock photo you’ve legally purchased a license for.
-
When it's not: The problems start when you edit images you don't have the rights to. Removing a watermark from a photographer's copyrighted work without their permission isn't just unethical—it's illegal and violates copyright law.
Tools like this are made for legitimate personal and creative projects, not for stealing someone else's work. So, before you start editing, always make sure you have the right to do so.
Ready to see how easy it is to get a clean, text-free image in just a few seconds? Give SnapCaptionRemover a try and watch those captions vanish. You can get started for free right now.