Finally Organize Digital Photos for Good
Staring at a camera roll with thousands of unsorted pictures can feel completely paralyzing. I've been there. The good news is that you don't need to be a professional archivist to get a handle on it. The secret is breaking the project down into three simple, common-sense phases: Consolidate all your pictures into one central hub, Organize them with a system that makes sense to you, and then Maintain that system with regular backups.
Thinking about it this way turns a project that feels monumental into something you can actually tackle.
Taming Your Digital Photo Chaos for Good
Does your photo collection feel like a digital junk drawer? It’s a common problem. We have photos scattered across old phones, laptops, forgotten social media accounts, and a half-dozen different cloud services. This mess happens because snapping a picture is effortless, but managing it requires a little bit of intention. Without a system, your most precious memories get lost in a sea of screenshots, duplicate images, and blurry outtakes.
The sheer volume of photos we all create is mind-boggling. It’s estimated that people will take over 2.1 trillion photos worldwide by 2025—a noticeable jump from 1.94 trillion in 2024. That’s more than 61,000 photos every single second. As you can imagine, this explosion of content makes having a solid organization plan more crucial than ever.
A Simple Framework for Success
You don't need fancy, complicated software to get your photos in order. All you really need is a straightforward, repeatable plan. The best approach is to break the process down into three distinct phases. This makes the whole task feel much less overwhelming.
This workflow gives you a bird's-eye view of the entire process, showing how one step logically flows into the next.
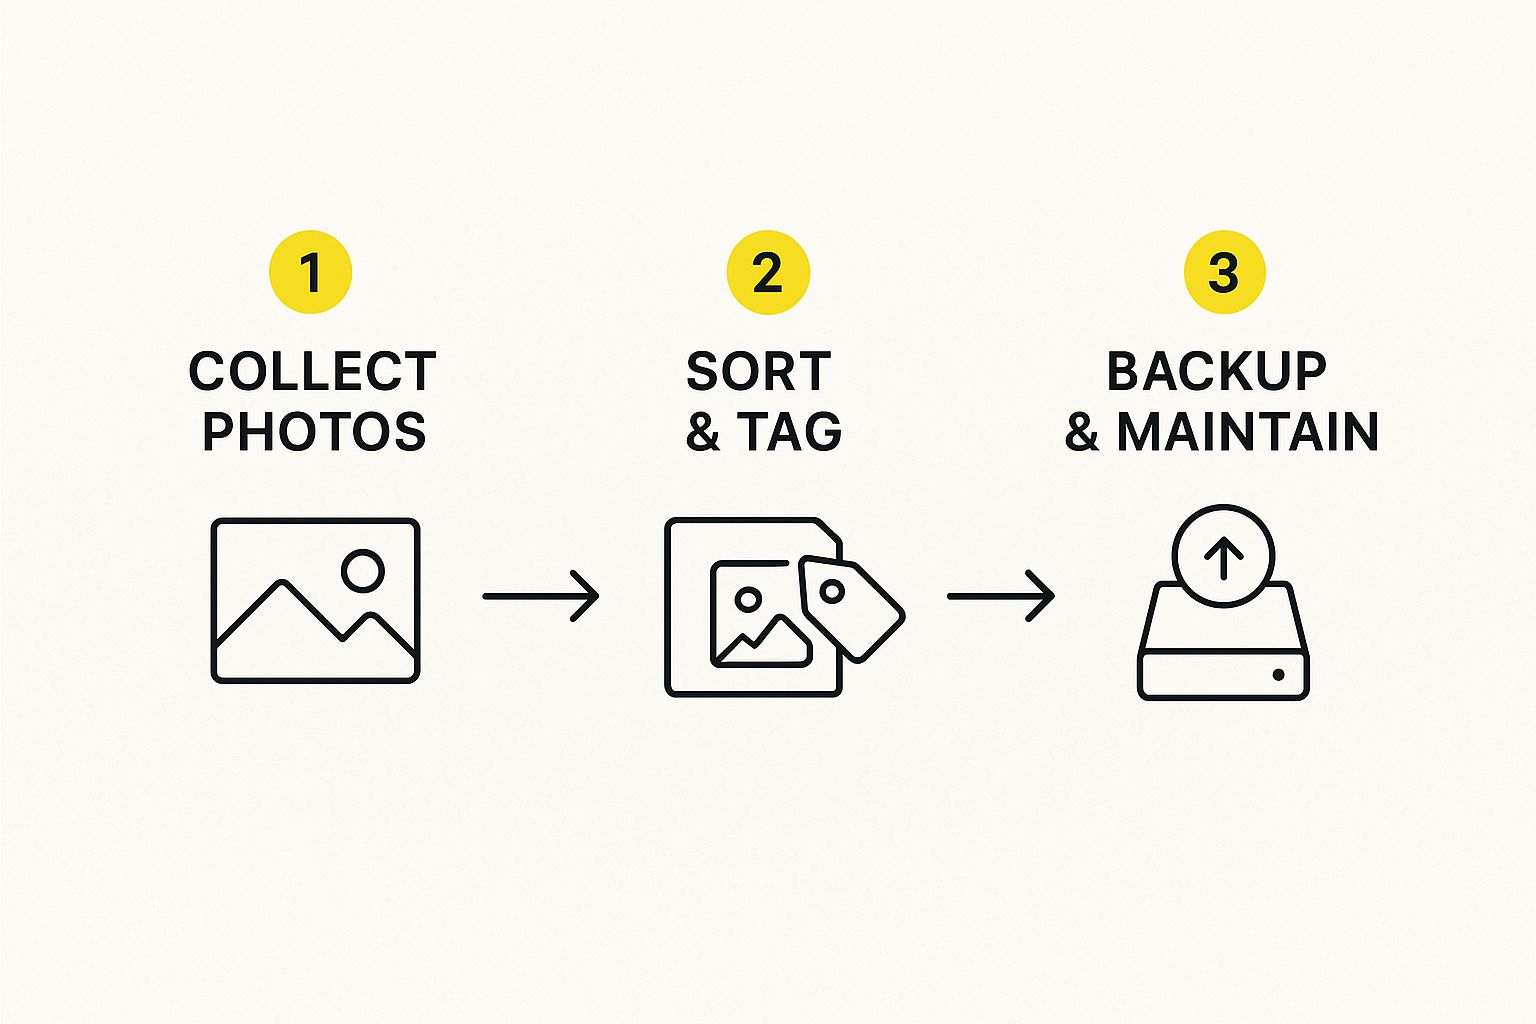
As you can see, it's a simple path: gather everything first, then sort it logically, and finally, protect your work. Following this creates a sustainable archive for your memories that you can actually keep up with.
Here's a quick summary of the game plan.
Your Quick Start Photo Organization Plan
| Phase | Objective | Key Action |
|---|---|---|
| Consolidate | Create a single source of truth. | Gather every photo from all devices and accounts into one master folder. |
| Organize | Bring order to the chaos. | Delete junk, remove duplicates, and sort keepers into logical folders. |
| Maintain | Protect your precious memories. | Establish a reliable backup routine and stick to your new system going forward. |
Once you start using this framework, you'll find your relationship with your photo library changing. The anxiety disappears, replaced by a feeling of control and accomplishment.
Putting the Plan Into Action
Let's quickly walk through what each of those phases looks like in the real world.
- Consolidate: This is your gathering stage. The goal here is to create a single "inbox" for every photo you own. That means pulling them from old phones, USB drives, cloud accounts—everywhere.
- Organize: With everything in one place, the real sorting begins. This is when you'll ruthlessly delete the junk, get rid of duplicates, and start arranging the photos you want to keep into a clear folder structure.
- Maintain: This final phase is all about preservation and upkeep. It means setting up a solid backup routine (and sticking to it!) and applying your new organization system to all new photos you take.
After years of helping people with this, I can tell you one thing for sure: the most effective photo organization systems are the ones you can actually stick with. Simplicity is your best friend. A basic folder system named by date is far more powerful than a complex tagging system you'll abandon in a month.
When you approach the project with this mindset, you’re not just cleaning up a digital mess. You’re building a living, breathing archive of your life's most important moments, making them easy to find, share, and enjoy for years to come.
For more practical tips on managing your digital files, feel free to check out our other guides on the SnapCaptionRemover blog.
Gathering Every Photo Into One Place

Before you can start organizing your digital photos, you first have to figure out exactly what you have. If you’re like most people, your pictures are scattered everywhere. You’ve probably got thousands on your phone, a bunch on an old laptop, more on a USB stick hiding in a drawer, and who knows how many spread across different cloud services. The very first step is to bring them all together.
I always start by creating one main, temporary "inbox" folder. The best place for this is on an external hard drive with plenty of free space. Think of this as the staging area for your entire photo collection. Pulling everything into this one spot ends the digital scavenger hunt for good.
Finding All Your Hidden Photo Stashes
Grab a piece of paper or open a note and make a quick list of every single place your photos might be living. It's surprisingly easy to forget a source, so try to be as thorough as possible.
Here are the usual suspects I tell people to check first:
- Current and old smartphones: This is almost always the biggest source of photos.
- Laptops and desktops: Don't forget to dig through your "Pictures," "Downloads," and "Desktop" folders.
- External hard drives and USB drives: Go on an archeological dig through any old storage devices you can find.
- Cloud storage accounts: This means services like Google Photos, iCloud, Dropbox, and OneDrive.
- Social media platforms: You can download your entire photo history from sites like Facebook and Instagram.
Once you have your list, start the process of copying everything into that master inbox folder. This part can take a while, especially if you have a lot of photos, but it's the foundation for everything else.
Dealing With Duplicates Sooner Rather Than Later
As you start pulling everything together, you're going to run into a lot of duplicate photos. It's just what happens when you have files stored in so many different places. Taking care of them now will save you a massive headache down the road.
I see people make the same mistake all the time: trying to organize photos while they’re still spread across multiple devices. By creating a single "inbox" first, you establish one source of truth. This move alone transforms the project from a chaotic mess into a manageable process.
You can find plenty of duplicate-finder tools online, and many of them have free trials. These programs are great because they scan the actual file data, not just the file names, to find exact copies. For those near-duplicates—like a burst of ten nearly identical shots—it's often better to just review them by hand. Be a little ruthless here and only keep the sharpest, most meaningful picture from the set.
With the digital photography market valued at $53.14 billion in 2024, we're seeing more and more powerful tools emerge to help us. AI features are now common in photo management software, helping to automatically group similar shots and even suggest the best one. These advancements in the digital photography market are a direct response to the massive number of photos we all create.
Once you're done with this step, you should have one folder with every photo you want to keep, and it should be free of all the obvious duplicates. This clean slate is the perfect launchpad for building a photo library that's organized and built to last.
Building a Future-Proof Folder System

Alright, you've rounded up all your photos into one central spot. Now for the fun part: building the framework that will keep them organized for good. A logical folder system is the absolute backbone of a healthy photo library. The goal is to create something simple enough that you'll actually stick with it, yet intuitive enough that you can find a specific memory years from now without launching a full-scale search party.
Over the years, I've found that the most reliable method is a simple chronological structure. It just works with how our brains are wired to remember life—by time. You don't need any fancy software or a degree in library science. All it takes is a main "Photos" folder and a consistent way of creating new folders inside it.
The Year > Month > Event Method
This system is beautifully straightforward. You start with a main folder for each year, then create subfolders for each month inside that year. Finally, you make specific folders for individual events inside each month. This tiered approach creates a clean, predictable hierarchy that’s easy to navigate.
For instance, your top-level photo directory would just be a list of years:
202220232024
Drill down into any year, and you’ll see the months. Here’s a little pro tip: start the folder name with the year and month number to force them to sort chronologically, not alphabetically.
2024-01 January2024-02 February2024-03 March
Finally, within each month's folder, you can create even more specific subfolders for memorable events. Any pictures that aren't tied to a special occasion can just live loose in the main month folder. A busy summer month might look something like this:
2024-07 July2024-07-04 Fourth of July BBQ2024-07-22 Beach Trip- (and all your other general photos from July)
This approach is so powerful because it’s completely future-proof. You’ll never have to second-guess where a photo from a particular trip or holiday might be hiding.
Creating Smart File Names
A great folder structure gets you most of the way there, but renaming your actual photo files is the final, crucial piece of the puzzle. Straight out of your camera or phone, you get generic, meaningless names like IMG_5821.JPG or DSC_0047.NEF. They tell you absolutely nothing.
A truly helpful file name should include the full date and a short, descriptive keyword. By putting the date in a YYYY-MM-DD format at the very beginning, your files will always sort chronologically, even when they’re outside their designated folders.
I stick to this formula: YYYY-MM-DD_Event-Description_###.jpg
So, a photo from that beach trip would become 2024-07-22_Beach-Sunset_001.jpg. Simple. Descriptive. Perfect.
Now, the thought of manually renaming thousands of photos is enough to give anyone a headache. Don't do it. The secret is to use a batch-renaming tool. There are plenty of free programs for both Mac and Windows that can rename hundreds of files at once based on rules you create. It turns what would be a multi-day chore into a five-minute task.
By combining a smart folder structure with a descriptive file naming convention, you're building a personal archive that is searchable, scalable, and won't lock you into a single piece of software. It’s a system that will make just as much sense a decade from now as it does today.
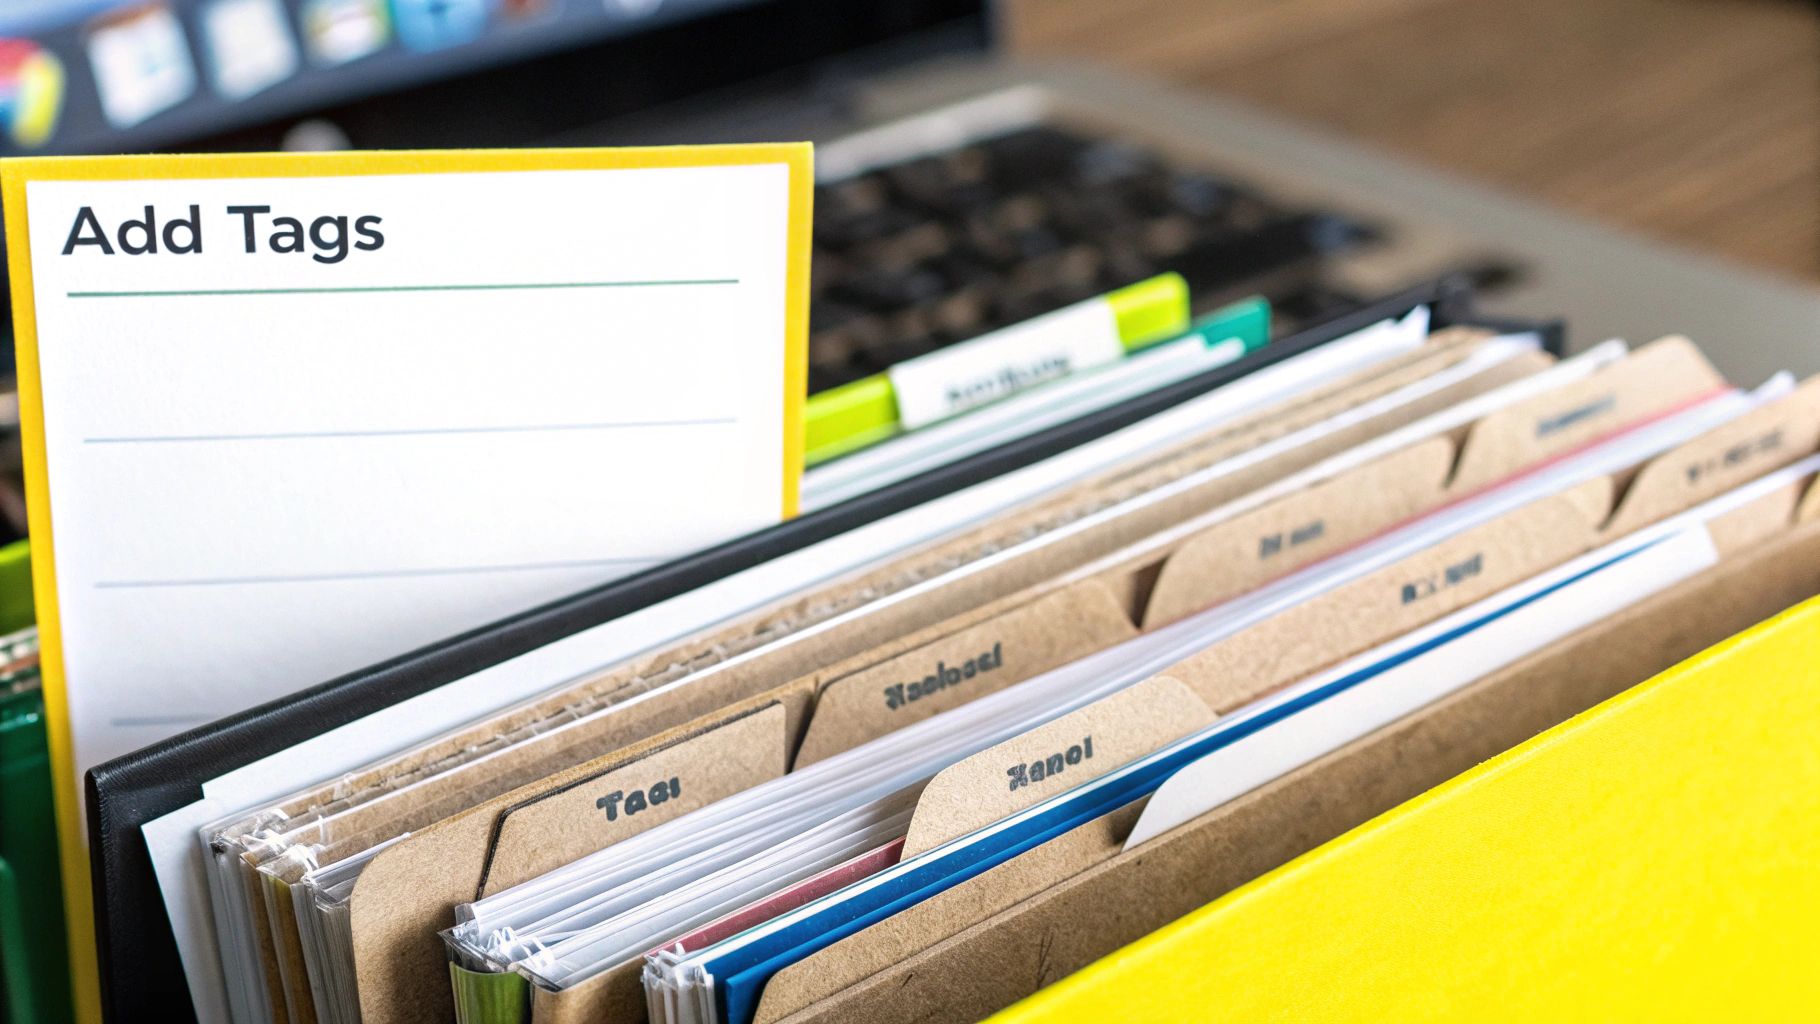
Unlocking Your Photos with Metadata and Tags
https://www.youtube.com/embed/ES73_YS-SpA
Think of your new folder system and file names as a fantastic road map to your photo library. But if you want to turn that map into a fully interactive GPS, you need to get familiar with metadata. It’s the invisible data tucked inside each photo file—the who, what, when, and where of every single picture.
When you add metadata, you're building a powerful, personal search engine for your memories. Imagine typing "Grandma" and instantly seeing every photo she’s in, no matter which folder it's saved in. That’s the real magic of tagging. It transforms a static archive into a dynamic, searchable database of your life.
The Metadata That Truly Matters
While you can get lost in the weeds with metadata, you only need to focus on a few key pieces of information to completely change how you find your photos. The good news is that most photo management software, even the free stuff, makes editing this information a breeze.
Here’s what I recommend focusing on:
- Keywords (or Tags): These are just simple, descriptive labels. Think "beach," "birthday party," "hiking," or "dog." Don't be shy; you can add as many as you need to accurately describe the shot.
- People: Many programs now use facial recognition to help you tag who's in the photo. Once you tag "Aunt Carol" a few times, the software will start suggesting her in other photos, which speeds up the process significantly over time.
- Locations: Most modern smartphones automatically embed GPS data. If a photo doesn't have it, you can add locations manually, like "Yosemite National Park" or "Grand Canyon."
- Ratings: A simple 1-to-5 star rating system is one of the fastest ways to filter your collection. I give my absolute favorites a 5-star rating, making it incredibly easy to find my best work later.
A common worry I hear is that this data is fragile and gets lost easily. In reality, standard photo formats like JPG and DNG embed this information right into the file itself. This means your tags, ratings, and locations travel with the photo wherever it goes.
This is a fundamental shift from just browsing folders. Now, you can ask your library specific questions. For instance, you could search for all "5-star photos" of "Mom" from your "Hawaii" trip. Suddenly, finding that one perfect shot takes seconds, not an hour of mindless scrolling.
Finding the Right Tool for the Job
You don't need to be a tech expert to start adding metadata. Plenty of user-friendly tools are designed for exactly this.
| Tool | Who It's For | Why I Like It |
|---|---|---|
| Adobe Lightroom | Serious Hobbyists & Pros | A powerful all-in-one for organizing and editing. |
| digiKam | Budget-Conscious Photographers | It's open-source, packed with features, and totally free. |
| Windows Photos / Apple Photos | Casual Users | The built-in tools are great for basic tagging and locations. |
The key is to start small. Just pick one or two types of metadata—like star ratings and a few basic keywords—and apply them to new photos as you import them. Once you get a taste of how powerful it is, you'll find the motivation to go back and tag your older favorites.
As you work with your images, like when you compress them for storage or sharing online, it's vital to know about retaining image metadata during processing. Losing all that carefully added data would be a huge step backward. By using metadata, you're not just tidying up your photos—you're making your memories more accessible and meaningful than ever before.
Protecting Your Memories with a Smart Backup Plan
After all the time you've invested in gathering, sorting, and tagging your photos, the last thing you want is for it all to vanish. An organized photo library is useless if a single hard drive crash, a theft, or a disaster like a fire wipes it out forever.
This is where a solid backup plan comes in. And in my experience, the absolute best approach is what's known in the data world as the 3-2-1 rule.
The 3-2-1 Rule: Keep at least three total copies of your data. Store them on two different types of media. And make sure one of those copies is kept off-site.
It’s a simple but powerful framework that pros rely on, and it’s perfectly suited for protecting your most cherished memories. This rule is the key to making sure your organizational efforts last a lifetime.
Putting the 3-2-1 Rule Into Practice
So, what does this look like for your newly organized photo library? It's much simpler to set up than it sounds.
Your first copy is the one you’ve been actively working on. This is your main photo library, likely sitting on your computer’s internal drive or a primary external hard drive you plug in regularly. Think of this as your "live" collection.
For your second copy, you’ll need a different storage device. The easiest and most common method is to use a second external hard drive dedicated solely to backups. After a big photo import or maybe once a month, you just copy your entire photo library over to this backup drive. Simple. Now, if your main drive fails, you have an immediate replacement ready to go.
The Critical Off-Site Copy
The final piece of this puzzle—and the one that protects you from true catastrophe—is having one copy stored somewhere else entirely. This is your safeguard against a local disaster like a fire, flood, or burglary that could take out both your computer and your local backup drive at the same time.
This is where the cloud comes in, and it's a game-changer. The growth in personal cloud storage has been astronomical, with user numbers projected to hit 2.3 billion by 2025, a huge leap from 1.1 billion in 2014. This boom is fueled by our need for secure, easy-to-access storage for massive files like RAW photos and 4K videos. You can dig deeper into the growth of personal cloud storage solutions if you're curious.
For a true "set it and forget it" off-site backup, I always recommend services designed for this exact purpose. Tools like Backblaze or iDrive are brilliant because they run in the background, automatically backing up your files to their secure servers. Your off-site copy stays current without you having to lift a finger.
So, to recap your 3-2-1 photo plan:
- Copy 1: Your main library on your computer or primary external drive.
- Copy 2: A local backup on a second, separate external hard drive.
- Copy 3: An automated, off-site backup with a cloud service.
When choosing a cloud service for that crucial third copy, it helps to compare your options.
Comparing Cloud Storage for Photo Backups
Here's a quick breakdown of some popular services and who they're best for when it comes to backing up a large photo library.
| Service | Best For | Key Feature | Typical Pricing Model |
|---|---|---|---|
| Backblaze | "Set it and forget it" backups | Unlimited storage for a single computer | Flat-rate subscription per computer |
| iDrive | Multiple device backups | Syncs files across all your devices | Tiered storage plans (e.g., 5TB, 10TB) |
| pCloud | Lifetime access | One-time payment for a lifetime storage plan | One-time purchase or annual subscription |
| Dropbox | Collaboration & sharing | Excellent file syncing and sharing features | Tiered storage plans, often with a free tier |
While services like Dropbox are great for sharing, dedicated backup solutions like Backblaze are often more cost-effective for protecting a massive, multi-terabyte photo library.
By setting up this simple three-part strategy, you build a powerful safety net for your entire photo collection. It’s the ultimate peace of mind, ensuring your memories are protected from hardware failure, accidents, and disasters for years to come.
Common Questions About Organizing Photos
Even with a solid plan, you're bound to hit a few snags when you start wrangling your digital photos. Let's walk through some of the most common questions I hear, so you have clear answers to keep your project on track.
How Should I Handle Videos?
This is a big one. Most of our camera rolls are a mix of photos and videos, and it’s usually best to keep them together. My go-to method is to create a dedicated "Videos" subfolder inside each event folder.
For example, your 2024 folder might have an event that looks like this:
2024-08 Summer VacationPhotos(This is for all your .jpg, .png, and other image files)Videos(And this is for your .mov and .mp4 files)
This keeps your main photo folders clean and easy to browse, but all your video memories stay right there with the event they belong to, perfectly sorted by date.
What’s the Best Software for Beginners vs. Pros?
Honestly, the best tool for a beginner is probably the one you already have. Both Apple Photos and Windows Photos have gotten surprisingly powerful over the years. They’re great for basic organization, tagging, and even some light editing, making them perfect for starting without getting bogged down by complicated software.
When you're ready for more control, especially if you're a serious hobbyist or a professional, Adobe Lightroom Classic is the undisputed champion. Its tools for managing metadata, batch editing, and handling huge collections of RAW files are second to none. If you're looking for a powerful, free, and open-source option, digiKam is an incredible alternative that rivals many paid programs.
The most important thing is to pick a system you will actually stick with. A simple process you follow consistently with a free tool is infinitely better than a complex, expensive one that you give up on.
How Do I Add Old Printed Photos to My System?
Bringing your old physical photo albums into your digital library is a fantastic project. The best way to do this is to scan them. For top-notch quality, a dedicated flatbed photo scanner is your best bet. If you just want to get it done quickly, a photo scanning app on your phone can do a surprisingly good job.
Once you have the digital files, treat them just like your other photos. Create folders for them based on the year and event, even if you have to guess. A bunch of childhood photos from the 90s? A folder like 1995 > 1995-00 Old Scans works perfectly.
How Do I Keep My System Organized Going Forward?
This is all about maintenance. The secret to preventing digital clutter from returning is a little bit of upkeep. All it takes is 15-30 minutes a month.
Here's the routine I follow:
- Import all new photos from my phone and camera.
- Do a quick pass and delete the junk right away—blurry shots, duplicates, random screenshots.
- Move the keepers into their proper
Year > Month-Eventfolders. - Run my backup.
Making this a small, regular habit is so much easier than facing a mountain of thousands of unorganized photos a year from now. If you run into other specific questions about tools or the process, you can find a lot more answers in our detailed FAQ section. This turns a massive chore into a simple, satisfying routine.