How to Remove Text on Photoshop: Easy Step-by-Step Guide
Got an image with a text overlay you need to get rid of? It's a common problem, but thankfully, Adobe Photoshop gives you a few fantastic ways to handle it. You don't need to be a Photoshop wizard, either. The key is simply knowing which tool to reach for.
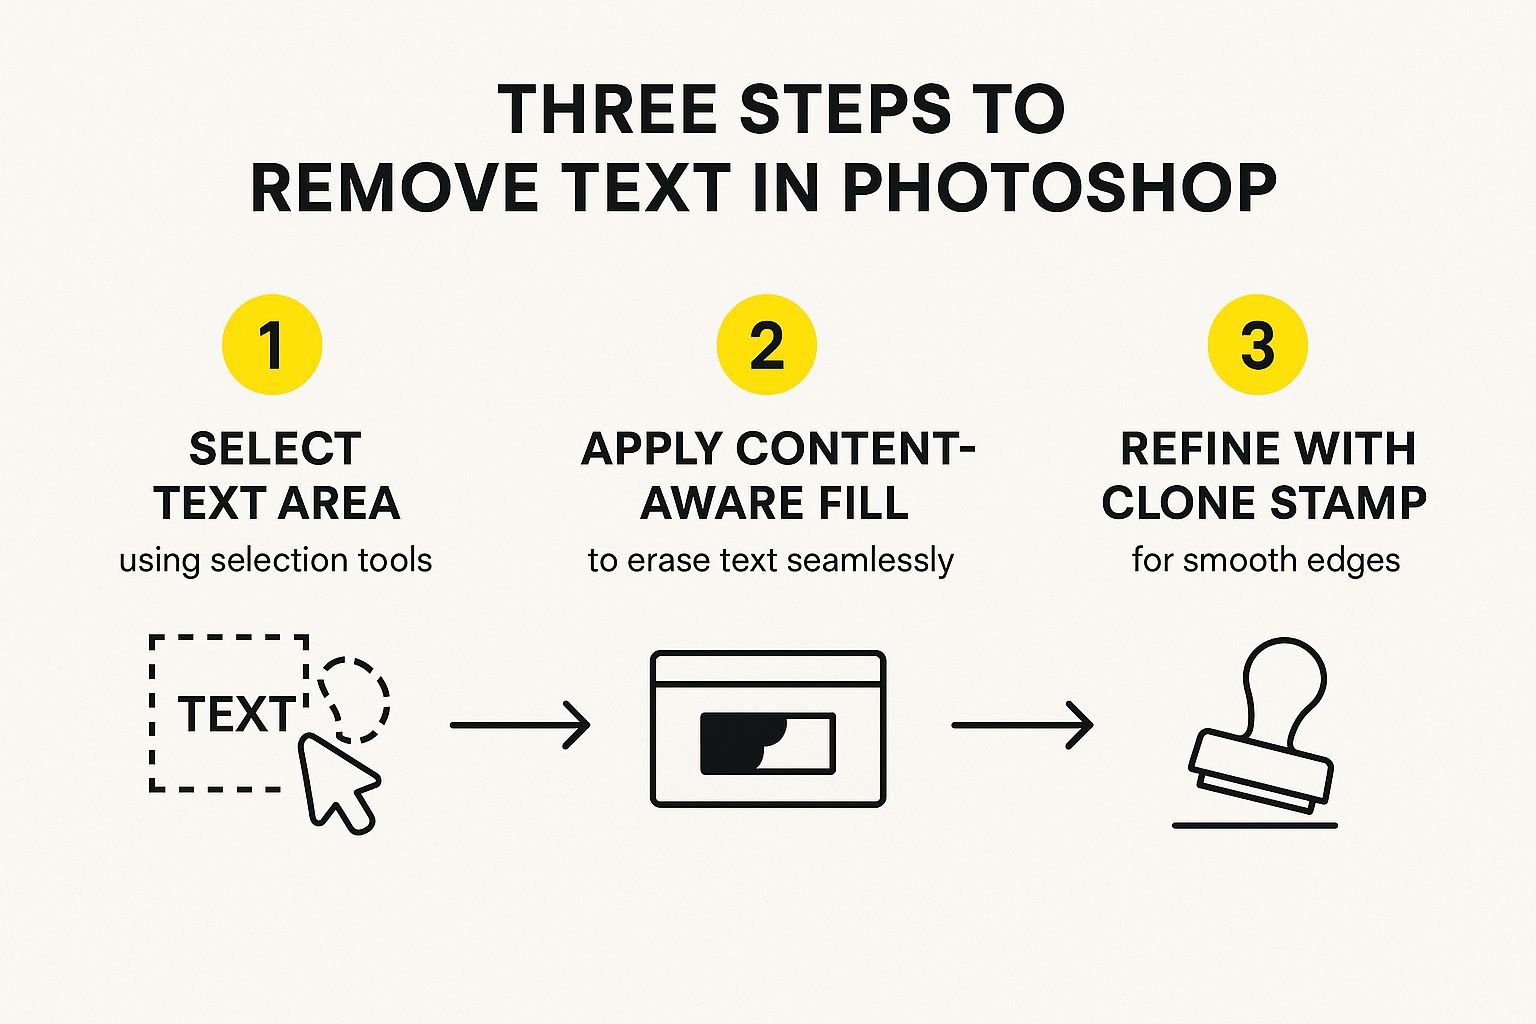
We're going to walk through the three heavy hitters for this kind of work:
- Content-Aware Fill: Think of this as the "smart" or automated option. It’s brilliant for removing text from complex, non-repeating backgrounds, like a grassy field or a cloudy sky.
- Clone Stamp Tool: This is your tool for precision. When you're dealing with structured patterns, like brickwork or fabric, the Clone Stamp gives you the manual control needed to maintain the pattern perfectly.
- Healing Brush: This one is all about seamless blending. It’s perfect for smoothing out textures and fixing tiny imperfections, especially after you've used another tool for the initial removal.
Think of it this way: you have a powerful, automated tool for big areas and two precision tools for the details. Let's dig into when and how to use each one.
Key Takeaway: The best results often come from using a combination of tools. I usually start with Content-Aware Fill to do the heavy lifting and then switch to the Clone Stamp or Healing Brush to clean up the finer details and make it look perfect.
Photoshop Text Removal Tools At a Glance
Feeling a bit overwhelmed by the options? Don't be. This quick table breaks down which tool is best for your specific situation.
| Tool | Ideal for These Images | Skill Level |
|---|---|---|
| Content-Aware Fill | Complex, irregular backgrounds (landscapes, skies, etc.) | Beginner |
| Clone Stamp Tool | Structured, repeating patterns (bricks, tiles, fabrics) | Intermediate |
| Healing Brush | Blending textures and fixing small imperfections | Beginner |
Use this as a cheat sheet. Once you've picked your tool, you're halfway to a clean, professional-looking image.
For more hands-on guides like this one, you can find a bunch of other practical how-to articles that cover a wide range of digital tasks. Mastering a few core skills like these can make a huge difference in your creative projects.
Using Content-Aware Fill for Smart Text Removal
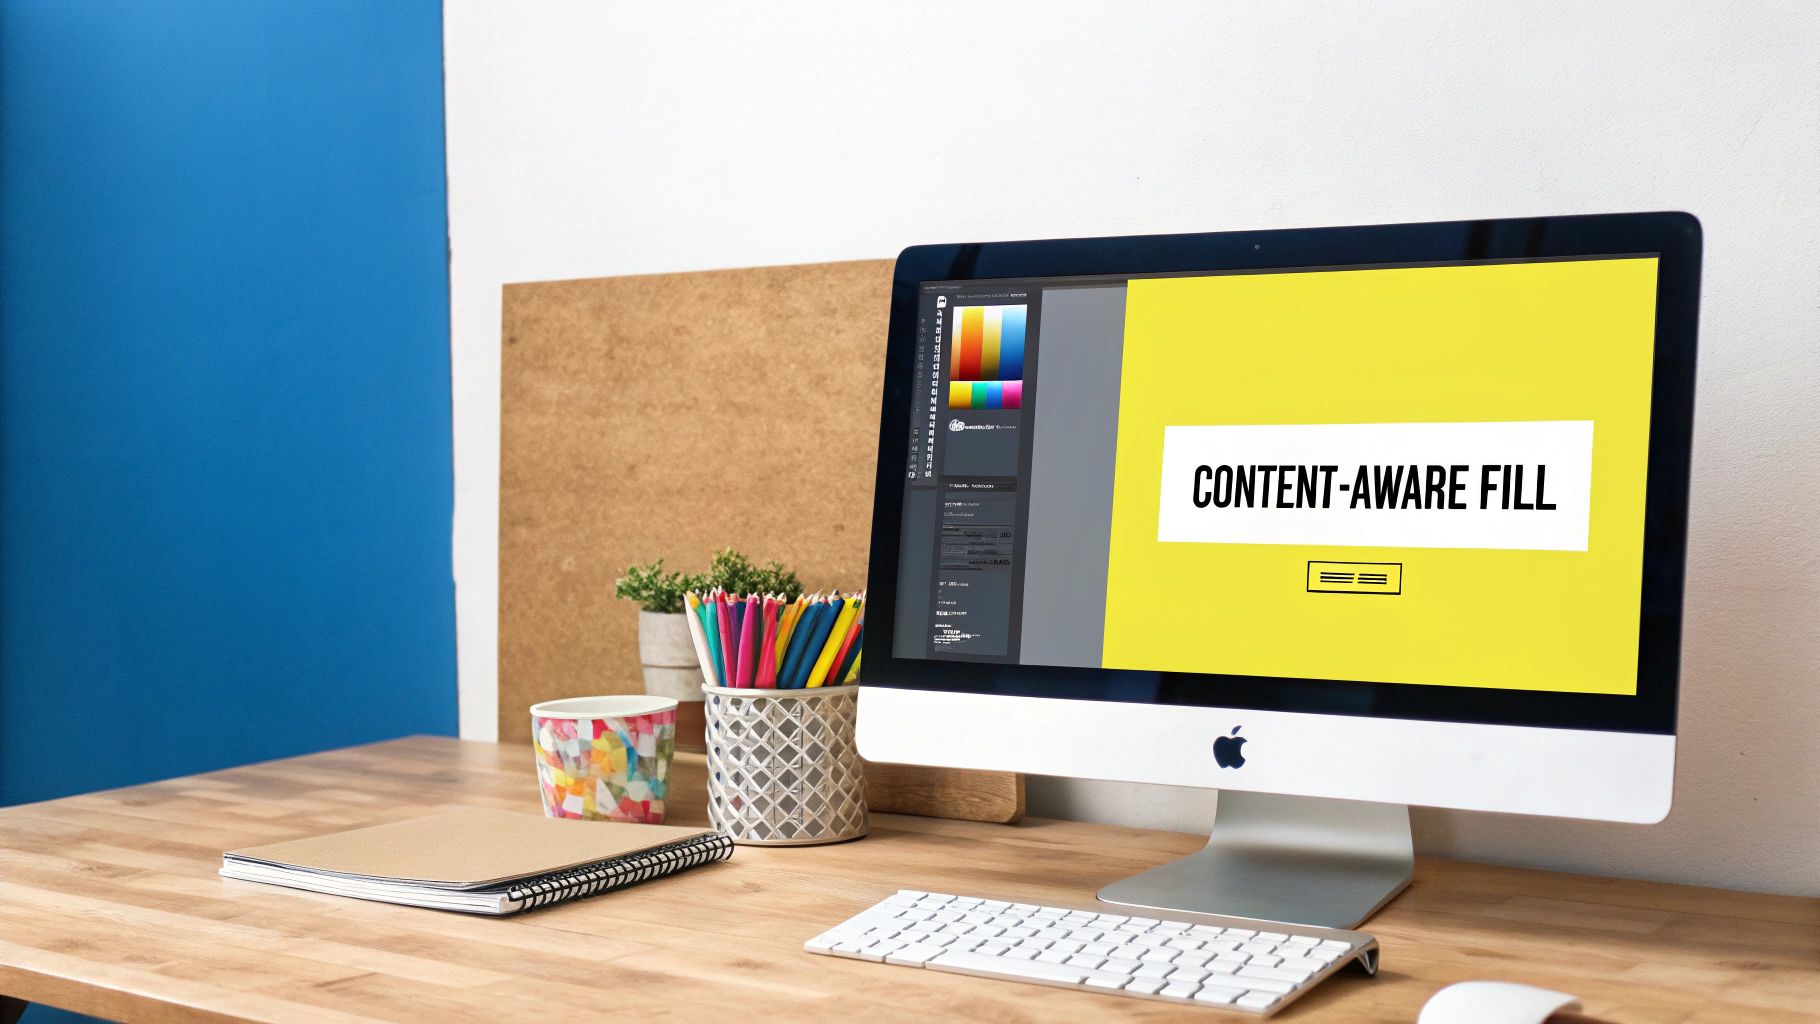
When you’re dealing with a really tricky background—think textured walls, grassy fields, or a sky full of clouds—the Content-Aware Fill tool is your best friend. Honestly, it feels like magic. The tool looks at the pixels around the text you want to remove and then intelligently cooks up a new patch that blends right in. It’s the closest thing to Photoshop thinking for itself.
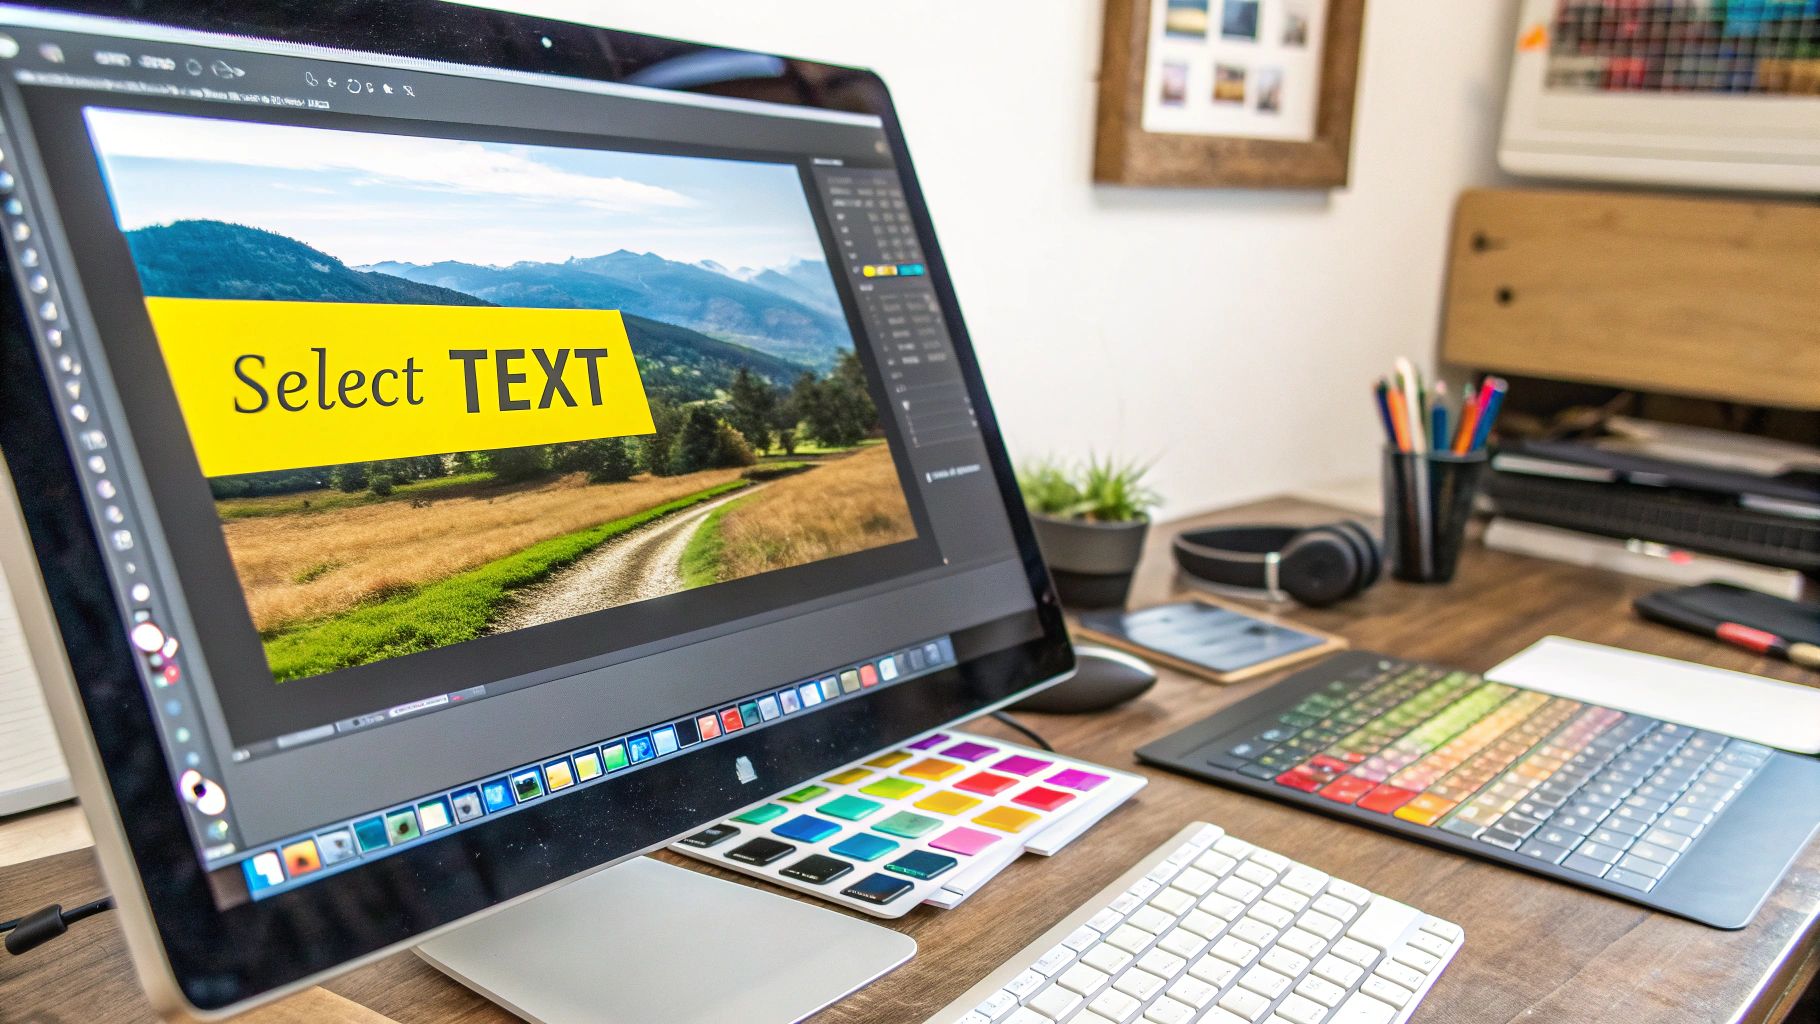
Everything hinges on getting your initial selection right. I usually grab the Lasso Tool and draw a loose shape around the text. The key here is not to hug the letters too tightly. You want to give Photoshop a little bit of the background to work with; this extra information helps it create a much more natural and believable fill.
With your selection active, head up to Edit > Content-Aware Fill. This pops open a special workspace. You'll see a green overlay on your image, which shows you exactly where Photoshop is pulling pixels from to create the patch. If it's sampling from an area you don't like, you can simply paint over the image to remove that section from the source. This control is what keeps the tool from accidentally cloning unwanted objects into your clean area.
Refining Your AI-Powered Edits
Here’s a pro tip I swear by: always work non-destructively. Inside the Content-Aware Fill panel, look for the Output To setting and change it to New Layer. This is a game-changer. It puts the new patch on its own layer, leaving your original photo untouched. Now you can tweak, mask, or even delete the patch without any permanent damage.
This whole process is a fantastic example of the powerful inpainting techniques that modern software uses to intelligently rebuild parts of an image.
Recent updates to Photoshop have only made this feature smarter and easier to use. For instance, the 2025 version brought in some great improvements that make text removal feel almost effortless, with AI doing more of the heavy lifting to keep things looking authentic.
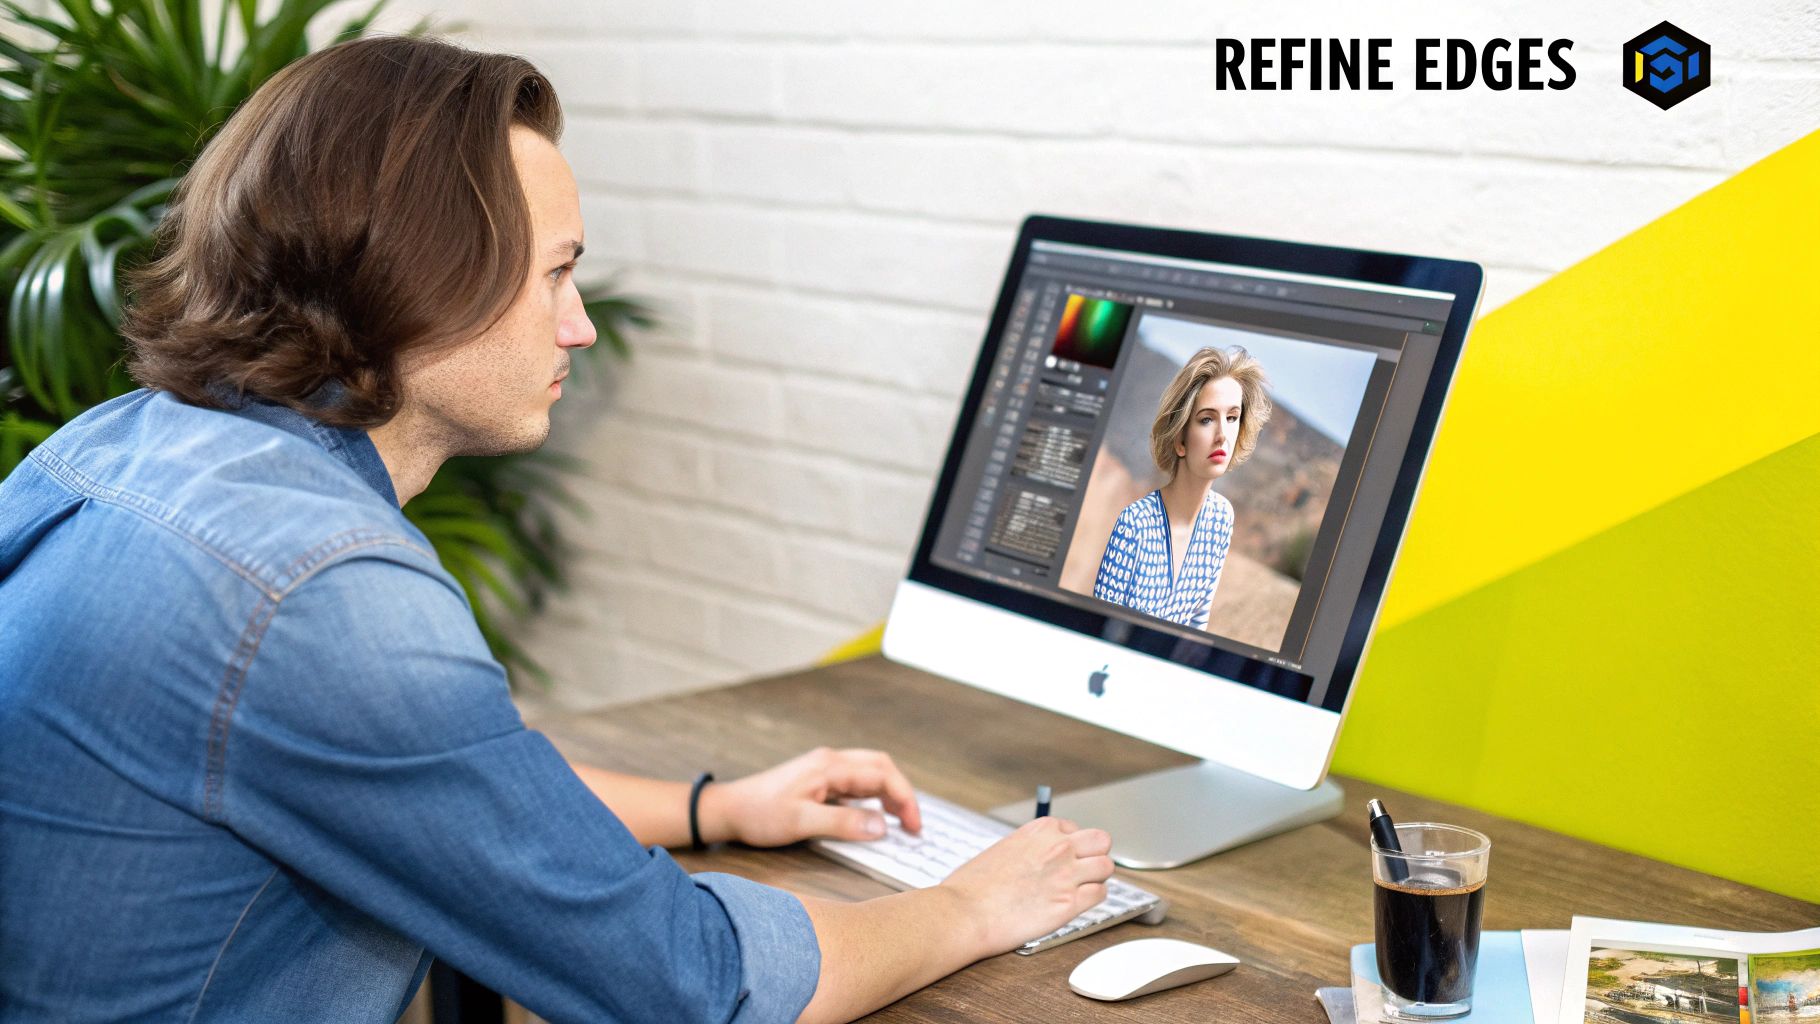
This workflow breaks down the process, from making your selection to the final touch-ups.
As the visual shows, even AI tools benefit from a human eye. A little manual refinement is often the final step that separates an amateur edit from a professional one. For a deeper dive, feel free to check out our complete guide on how to remove text from a picture in Photoshop.
Get Precise Control With The Clone Stamp
Sometimes, the automated tools just don't cut it. When Content-Aware Fill struggles with complex details, I always turn to the Clone Stamp Tool. It’s my secret weapon for gaining total manual control, especially when dealing with tricky, repeating patterns like brick walls, textured fabrics, or tiled floors. Think of it as digital painting—you're literally borrowing pixels from one part of the image to reconstruct another.
The concept is simple, but it takes a bit of a delicate touch to master. First, you need to tell Photoshop where to copy from. Find a clean part of the background that you want to use as your "source" and hold the Alt key (Option on a Mac) while clicking on it. Your cursor will briefly change to a target to show you've set the source point.
Now, you can simply start painting over the text you want to erase. As you paint, Photoshop pulls pixels from your source area and applies them right where your brush is. This gives you complete control to rebuild textures and match patterns perfectly, pixel by pixel.
How To Make Your Cloning Invisible
Getting a natural-looking result with the Clone Stamp is more art than science. The goal is to blend your work so flawlessly that no one can tell you were ever there. The biggest mistake I see people make is using the same source point over and over, which creates an obvious, blotchy repeat.
Pro Tip: Keep moving your source point! I get into a rhythm of Alt-clicking a new source area every few brush strokes. This simple habit pulls in subtle variations in texture and lighting, making the final edit completely seamless.
The brush you use is just as important. Here are a couple of settings I always adjust:
- Brush Hardness: I almost always start with a soft-edged brush, setting the hardness to around 0-20%. This creates feathered edges that melt into the surrounding pixels, preventing any harsh, noticeable lines.
- Opacity and Flow: Don't crank everything up to 100%. Lowering the brush opacity to something like 30-50% lets you build up the cloned texture gradually. This gives you far more control and helps create a much more delicate blend.
Another great tool for this kind of work is the Patch Tool. It lets you draw a selection around the text, then drag that selection over to a clean background area. Photoshop then does the heavy lifting of blending it for you. You can see this technique in action by watching some useful visual editing tutorials that walk you through it.
Refining Your Edits With the Healing Brush Tools
So you've used Content-Aware Fill or the Clone Stamp to get rid of the big chunks of text. Good job. But now, you might be looking at the result and noticing little imperfections—a weird texture patch here, a slightly blurry edge there. This is totally normal, and it’s where the pros separate themselves.
This is the moment to bring in the Healing Brush tools. Think of them as your fine-tuning instruments, perfect for smoothing over those last few bumps to make the edit invisible.
For tiny, isolated problems like a stray pixel or a small blemish left behind, the Spot Healing Brush Tool is a lifesaver. It’s incredibly simple. You just find the spot you don't like, click on it, and poof—Photoshop automatically samples the surrounding area and blends the flaw away. No source selection needed. It’s a one-click fix for minor touch-ups.
Gaining More Control With the Healing Brush
When you need to tackle a slightly larger or more complex area, the standard Healing Brush Tool gives you back the control. It works like a hybrid of the Clone Stamp and the Spot Healing Brush, giving you the best of both worlds.
You’ll start by sampling a clean source area by holding Alt (or Option on Mac) and clicking, just like you did with the Clone Stamp. But here’s the magic: when you paint over the imperfect spot, the Healing Brush doesn't just paste the pixels. Instead, it intelligently blends the texture from your source with the lighting and color of the area you're painting over.
This is the key difference and why it’s so powerful. The Healing Brush preserves the original shadows and highlights, which prevents the flat, "pasted-on" look that cloning can sometimes create. The result is a seamless, much more realistic edit.
Imagine removing text that runs across a curved surface, moving from a brightly lit spot into a shadow. The Healing Brush will adapt your sampled texture to match the lighting as you paint, making the transition look completely natural.
Mastering this combination of tools is a cornerstone of professional editing. To dive deeper into these techniques, check out our other guides on how to delete text in Photoshop effectively.
Handling Text on Difficult Backgrounds
Removing text from a simple, solid-colored background is one thing. But what happens when the text is slapped across a complex image—like a detailed pattern, a soft gradient, or a busy photograph? This is where automated tools often stumble, leaving behind a blurry, obvious mess. To get a truly professional result, you need to combine Photoshop's tools strategically.
I've found the best approach is to layer your techniques, moving from broad strokes to fine-tuned details. I always start with Content-Aware Fill to get rid of the bulk of the text. On backgrounds like landscapes or cityscapes, this AI-powered feature is a lifesaver and can often handle about 80% of the job in a few seconds.
Reconstructing with Precision
After the first pass, you'll probably notice some soft spots or areas where the background doesn't quite match up. That's perfectly normal, and it's your cue to switch to the Clone Stamp Tool. This is where you manually rebuild the missing pieces.
Think about removing a logo from a patterned shirt. Content-Aware Fill might blur the pattern, but the Clone Stamp lets you sample a clean part of that pattern and meticulously paint it back over the messy areas. It's all about restoring the original texture and detail.
The final step is all about blending. Grab the Healing Brush to smooth out any subtle seams or lighting differences between your cloned sections and the original image. It’s brilliant at blending the texture you’ve added with the surrounding light and shadow, making your edit practically invisible.
Key Insight: A clean edit on a tough background is a three-stage process. Start with the heavy lifting (Content-Aware Fill), rebuild the details (Clone Stamp), and then polish it off with seamless blending (Healing Brush). This layered approach gives you both speed and precision.
It takes a bit of patience, but this workflow is how the pros tackle the most difficult text removal jobs. If you want to see these tools in action with more examples, check out our in-depth guide to erase text from an image in Photoshop. By mastering this combination, you'll be able to confidently remove text from just about any background you encounter.
Need a Faster Way to Remove Text?
Let's be honest, firing up Photoshop isn't always the answer. While its tools give you incredible control, sometimes you just need to get the text off an image right now. For a quick social media post, a draft mockup, or any time you value speed over pixel-perfect detail, a dedicated online tool is a lifesaver.
This is where specialized web-based tools come in. They're built for one thing and one thing only: zapping text overlays instantly. Take a tool like SnapCaptionRemover, for example. It’s designed to do the job in seconds flat. You just upload your picture, and the AI takes care of the rest—no manual brushing or technical skill needed.
The Classic Trade-Off: Speed vs. Control
The biggest win with these browser tools is their simplicity. There’s no software to install and no learning curve to climb.
As you can see, the interface is dead simple. It’s a straightforward drag-and-drop system built for immediate action.
But, as with most things, this convenience comes at a price. You're trading the meticulous control of Photoshop for raw speed. For images with really busy or detailed backgrounds, an automated tool can sometimes leave behind small artifacts or a hint of blur where the text used to be. It's also smart to be mindful of the privacy policies of any online service, especially when you're uploading personal photos.
My Rule of Thumb: If I'm just cleaning up a saved photo to share with friends or for a casual post, and the background isn't a complex mess, an online remover is almost always the faster, smarter choice.
So, how do you decide? It really boils down to what your project demands. For professional work that needs to be flawless, stick with Photoshop's manual tools. For everything else where "good enough" is genuinely all you need, a quick online alternative will save you a ton of time and hassle.
Questions I Often Hear About Removing Text
When you're first learning how to get rid of text in Photoshop, a few questions always pop up. Let's walk through some of the common sticking points I've seen people run into, so you can get past them and achieve that clean, professional look you're after.
What's the Quickest Way to Get the Job Done?
Everyone wants the fastest method, and it really depends on your image.
If you're working with a simple, solid-colored background or one with a very light, repeatable texture, the Spot Healing Brush is your best friend. It’s incredibly fast—you just click over the text, and poof, it’s gone.
But what if the background is complex, like a busy street scene or a detailed pattern? In those cases, Content-Aware Fill is the automated tool that will save you the most time. Just draw a rough selection around the text, fire up the tool, and let Photoshop's AI do the heavy lifting for the first pass.
How Can I Avoid Blurry Patches and Glitches?
This is a big one. It's incredibly frustrating to remove text only to be left with a blurry, smudged mess. This usually happens when the editing tool blends the surrounding pixels too much.
To get around this, I always turn to the Clone Stamp Tool. The trick is to adjust your brush hardness. Use a high hardness setting, somewhere around 70-90%, to maintain crisp, sharp edges. For smoother, softer areas, dial that hardness back down. Most importantly, always do your edits on a new, separate layer. This is a non-destructive workflow, meaning you can easily erase or tweak your changes without ever messing up the original image.
It’s also good practice to remember that even the best software has its moments. For instance, in March 2025, a known issue with Photoshop version 26 affected the text tool’s auto-numbering. While it wasn't directly a removal tool bug, it's a great reminder that saving your work often, especially right before a big edit, is crucial. You can usually find discussions on issues like this in user forums, such as these Photoshop technical reports.
Can I actually remove text from a video in Photoshop?
Surprisingly, yes. When you open a video file in Photoshop, it presents you with a video timeline. From there, you can create a new layer on top of the video track and use tools like the Clone Stamp or Content-Aware Fill. The catch? You have to apply the fix frame by tedious frame. It's a very time-consuming process that's really only practical for the absolute shortest clips.
Tired of the Photoshop learning curve? If you need a clean image right now without the fuss, give SnapCaptionRemover a try. Just upload your picture, and our AI will erase the text in seconds. No complex tools, no learning required.
Get your clean image back in a snap at https://www.snapcaptionremover.com.