How to Erase Words in Photoshop: Easy Step-by-Step Guide
Ever found the perfect image, only to be stopped by a pesky watermark or some text you wish wasn't there? It’s a common hurdle, but thankfully, learning how to erase words in Photoshop is a skill you can pick up surprisingly fast. The trick isn't just knowing one method, but knowing which tool to grab for the job at hand.
For simple backgrounds, you’ll likely lean on smart tools like Content-Aware Fill. But for trickier spots with complex patterns, you'll need the precision of the Clone Stamp Tool.
Your Starting Point for Removing Text in Photoshop
Before you start clicking away, let's get our bearings. Think of this as your pre-flight check. Adobe Photoshop gives you a few fantastic options for removing text, and the best choice really comes down to the image you're working with.
Choosing the Right Tool for Text Removal
To make things easier, here's a quick rundown of the main tools in your arsenal. This table should help you decide which one to use at a glance.
| Tool | Best For | When to Use It |
|---|---|---|
| Spot Healing Brush | Quick, tiny fixes | Removing a single stray letter, a small logo, or a date stamp. Ideal for minor blemishes on a simple background. |
| Content-Aware Fill | Simple, uniform areas | Erasing text from skies, grassy fields, or plain walls. Photoshop does the heavy lifting by analyzing the surroundings. |
| Clone Stamp Tool | Complex patterns & textures | Removing text from detailed areas like wood grain, fabric, or repeating patterns where you need full control. |
Each tool has its place, and as you get more practice, you'll intuitively know which one to reach for.
The Golden Rule: Always Work Non-Destructively
If you take away just one thing from this guide, let it be this: always, always work on a duplicate layer.
Before you make a single edit, hit Ctrl+J (on Windows) or Cmd+J (on Mac) to create a copy of your background layer. This is your safety net. It means you can experiment, make mistakes, and start over without ever damaging your original image.
This non-destructive approach is a cornerstone of professional photo editing. The ability to erase parts of an image has been around since Photoshop 1.0 back in 1990, but the real game-changer was the introduction of layers in version 3.0. This innovation allowed editors to work on separate elements without making permanent changes to the underlying image.
Everything we're about to do builds on that foundational concept. By working on a separate layer, you gain the freedom and flexibility to achieve a clean, professional result. You can learn more about how Photoshop's features have evolved over the years, but the principle of layers remains as critical as ever.
Using Content-Aware Fill for Seamless Results
When you need to erase text from a fairly simple background, Content-Aware Fill is often the best tool for the job. Honestly, it can feel like magic. Think of images with a clear sky, an open field of grass, or even a plain studio backdrop—these are the perfect scenarios for this feature.
Let's say you have a fantastic photo, but it's marred by a pesky watermark or an old date stamp in the corner. Instead of spending ages cloning pixel by pixel, Content-Aware Fill does the heavy lifting. It analyzes the area around the text you want gone and intelligently cooks up a patch to cover it seamlessly. The secret to getting it right lies in making a good selection from the start.
Making the Selection and Launching the Tool
First, grab the Lasso Tool. You'll want to draw a selection loosely around the words. Don't worry about being perfectly precise—in fact, a little breathing room is good—but try to keep it reasonably tight.
Once the "marching ants" of your selection are active, head up to the main menu and choose Edit > Content-Aware Fill.
This command pulls you into a special workspace where you get a live preview of the fix. Your original image will be on the left, covered in a green overlay. This green area is the sampling area; it’s the pool of pixels Photoshop is using to generate the fill.
This image gives you a better sense of where you can find these powerful tools within the Photoshop interface.

As you can see, tools like the Clone Stamp and others are all part of a larger, organized workspace built for efficient editing.
Refining the Fill for Perfect Results
Sometimes, Photoshop gets a little confused and samples from a spot you’d rather it ignore, which can create a weird, smudgy patch. This is where your human touch comes in.
Pro Tip: Inside the Content-Aware Fill workspace, look for the Sampling Brush Tool at the top (it has a minus icon). You can use this to paint over parts of the green overlay to tell Photoshop, "Don't use pixels from here!" For example, if your text is near a tree branch against the sky, you can paint out the branch so Photoshop only samples from the clean sky.
This ability to guide the tool is what makes it so incredibly powerful. The technology has improved dramatically over the years. I remember the Photoshop CC 2014 release brought huge improvements to content-aware features, making this kind of clean-up work so much easier.
If you're curious about other ways to tackle text removal, we explore more techniques over on our blog.
Mastering the Clone Stamp for Complex Backgrounds
Sometimes, the automated magic of Content-Aware Fill just doesn't cut it. When you're dealing with a really tricky background—think a patterned shirt, a detailed wood grain, or a textured brick wall—you need more control. This is where the classic Clone Stamp Tool becomes your best friend.
It’s a manual tool, so it requires a bit more patience, but the results can be absolutely seamless. The idea is simple: you tell Photoshop exactly which pixels to copy (the source) and then you paint with those pixels over the text you want to erase. It’s like digital patch-work, giving you pixel-level precision.
Fine-Tuning Your Edits
Ready to get started? Grab the Clone Stamp Tool from your toolbar—or just hit the "S" key as a shortcut.
Now, find a clean area of texture right next to the text you need to cover. Hold down the Alt key (or Option on a Mac) and click on that spot. You've just set your source point! Release the key and start painting over the words. You'll see the texture you sampled appear, covering the text perfectly.
The real artistry, however, comes from tweaking the brush settings in the top toolbar. For a truly invisible edit, you'll want to adjust:
- Hardness: Always start with a low hardness, somewhere around 0-20%. This creates a soft, feathered edge that blends naturally instead of leaving a hard line.
- Opacity: I rarely use 100% opacity. Dropping it to 70-80% lets you build up the new texture gradually, which is key to avoiding those obvious, blotchy-looking repairs.
- Flow: Think of Flow as controlling the "paint" coming out of your brush. Lowering it gives you even finer control over the application with each stroke.
Here's the single most important tip I can give you for using the Clone Stamp: constantly resample your source point. If you keep painting from the same spot, you’ll end up with a weird, repetitive pattern that’s a dead giveaway of a Photoshop edit. Get in the habit of frequently hitting Alt/Option-click on different clean areas nearby.
This constant resampling is what separates an amateur edit from a professional one. It might take a few extra seconds, but this attention to detail is what makes your work look completely natural and undetectable, even on the most challenging surfaces.
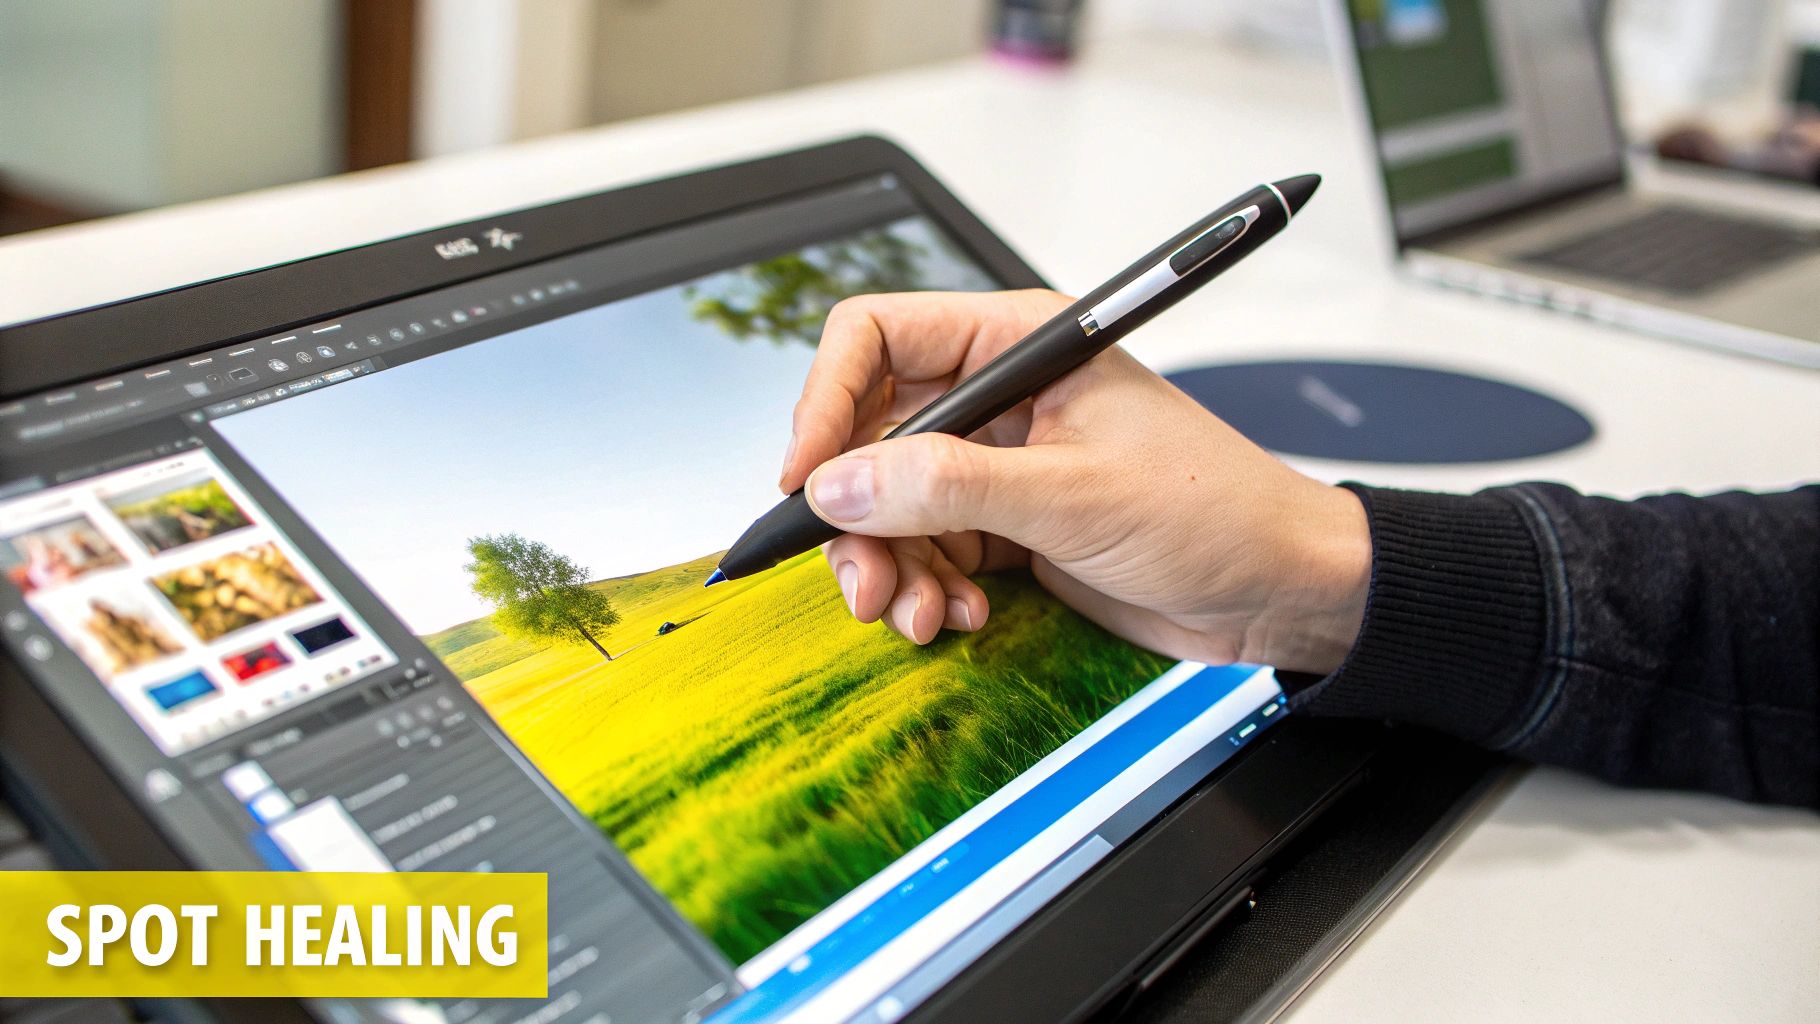
Using the Spot Healing Brush for Quick Fixes
Sometimes you don't need to remove a huge block of text. Maybe you just need to clean up a few stray letters, a small logo, or one of those old-school date stamps on a scanned photo. For jobs like these, the Spot Healing Brush is your best friend.
Think of it as a smart eraser. It combines the brain of Content-Aware Fill with the simplicity of a brush. You just paint over the little thing you want gone, and Photoshop does the heavy lifting, instantly sampling the pixels around it to create a seamless patch. It’s perfect for those quick, precise edits where you don't need the full control (and extra work) of the Clone Stamp Tool.

Why It's My Go-To for Small Jobs
For small, isolated bits of text, I almost always reach for the Spot Healing Brush over its cousin, the regular Healing Brush. Why? The standard Healing Brush makes you manually pick a source point first (like the Clone Stamp), which slows things down. The Spot Healing Brush, on the other hand, figures out the source all by itself. This makes it incredibly fast for minor touch-ups, especially when the background texture is fairly consistent.
Here are a few tips I've learned from experience to get the cleanest results:
- Nail the Brush Size: Use the bracket keys (
[and]) to quickly resize your brush. You want it to be just a tiny bit larger than the text you're zapping. - Click, Don't Drag: Instead of painting in one long stroke, try a series of short dabs or clicks. This gives Photoshop more chances to grab good source pixels for each little spot.
- Work on a Separate Layer: This is a pro habit. Create a new, empty layer and make sure "Sample All Layers" is checked in the options bar up top. This keeps your original photo untouched.
The real secret to a clean edit with this tool is getting the brush size just right. If it’s too small, you'll leave little artifacts behind. Too big, and Photoshop might pull in pixels from an area that doesn’t match, creating a blurry or smudged patch.
Ultimately, this tool is all about speed and efficiency. It’s the final polish, letting you erase words in Photoshop without getting bogged down in complicated selections or manual cloning. I think of it as my high-tech digital eraser, built for getting the small stuff done fast.
For More Control: Advanced Editing with Layer Masks
When you need absolute control and the ability to reverse your edits, nothing beats a Layer Mask. This is the method the pros lean on because it’s a non-destructive workflow. Instead of permanently erasing pixels, you’re just hiding them, which gives you a fantastic safety net for complex jobs.
Let's say you're trying to remove text from a background with a tricky texture or a subtle gradient. A simple clone or fill just won't cut it.
First, find a clean, text-free area of the background that closely matches what's behind the text you want to remove. Use the Marquee or Lasso Tool to select it. With that selection active, hit Ctrl+J (Cmd+J on a Mac) to copy it to its own brand-new layer.
Hiding the Text with Precision
Now, drag that new "patch" layer so it sits right on top of the text you're trying to erase. Don't worry if it looks like a clumsy patch at this stage—that's normal. The magic is about to happen.
Make sure your patch layer is selected, and then look at the bottom of the Layers panel. Click the Add Layer Mask icon, which looks like a rectangle with a circle in it.
A white thumbnail will pop up next to your patch layer. That's the mask. Here’s the key rule to remember: on a layer mask, black conceals and white reveals. Because the mask is currently solid white, your entire patch is visible.
To start blending, grab the Brush Tool. A soft-edged, round brush usually works best. Set your foreground color to black, and then simply start painting on the mask over the hard edges of your patch. You'll see the patch begin to fade away, revealing the original image underneath. This lets you create a seamless, perfect blend.
The real power here is that your edits are completely reversible. If you hide too much, just switch your brush color to white and paint back over the area to reveal the patch again. You never have to worry about making a permanent mistake.
This technique is a cornerstone of professional retouching. Once you get the hang of it, you can tackle even the most difficult text removal challenges with confidence. While it might feel a bit more involved at first, the flexibility it offers is well worth the learning curve. For anyone who does this kind of editing often, mastering this workflow can reduce the need to rely on external tools or use up free credits on simpler solutions. It's a skill that pays off big time in the quality and control you have over your work.
Even when you know the tools, erasing text in Photoshop can sometimes throw you a curveball. Getting that perfectly clean result usually just means knowing how to handle a few common problems.
Let's walk through some of the questions I hear most often.
What If Content-Aware Fill Looks Blurry?
It’s a classic frustration: you use Content-Aware Fill, and it leaves behind a smudged, blurry mess. This almost always comes down to one of two things—either your selection was a bit too sloppy, or Photoshop grabbed pixels from the wrong part of your image to create the fill.
The fix is usually straightforward. First, try again with a much tighter selection using the Lasso Tool, hugging the edges of the text as closely as you can. If that doesn't solve it, open the Content-Aware Fill workspace. Use the sampling brush to paint over the green overlay and tell Photoshop which areas not to use for the patch.
How Do I Remove Text from a Complex Background?
What if the text is sitting on top of a really busy background, like a patterned shirt or a brick wall? This is where the automatic tools often fail and you need to take manual control.
For these kinds of tricky jobs, the Clone Stamp Tool is your go-to. Success here really depends on developing a few good habits:
- Take your time. Rushing is the fastest way to a bad result.
- Use a small brush with soft edges to blend your edits naturally.
- Constantly change your source point. This is the big one. Keep holding Alt/Option and clicking on new, clean areas to sample from. This stops you from creating weird, repetitive patterns that scream "Photoshop!"
Once you've cloned out the text, I like to lightly pass over the area with the Healing Brush Tool. It does a fantastic job of blending any subtle imperfections for a truly seamless finish.
The single most important habit for any edit is to work non-destructively. Before you do anything else, duplicate your background layer (Ctrl/Cmd + J). This gives you a safety net, so you can experiment without ever damaging your original image.
If you have other specific questions, our detailed frequently asked questions page dives into even more editing challenges and solutions. Getting these little fixes down will make a huge difference in how cleanly and efficiently you can erase text.
For a quick, AI-powered alternative that removes captions from your saved Snaps without needing any software, give SnapCaptionRemover a try. Erase text from your images instantly, right in your browser. Check it out for free at https://www.snapcaptionremover.com.