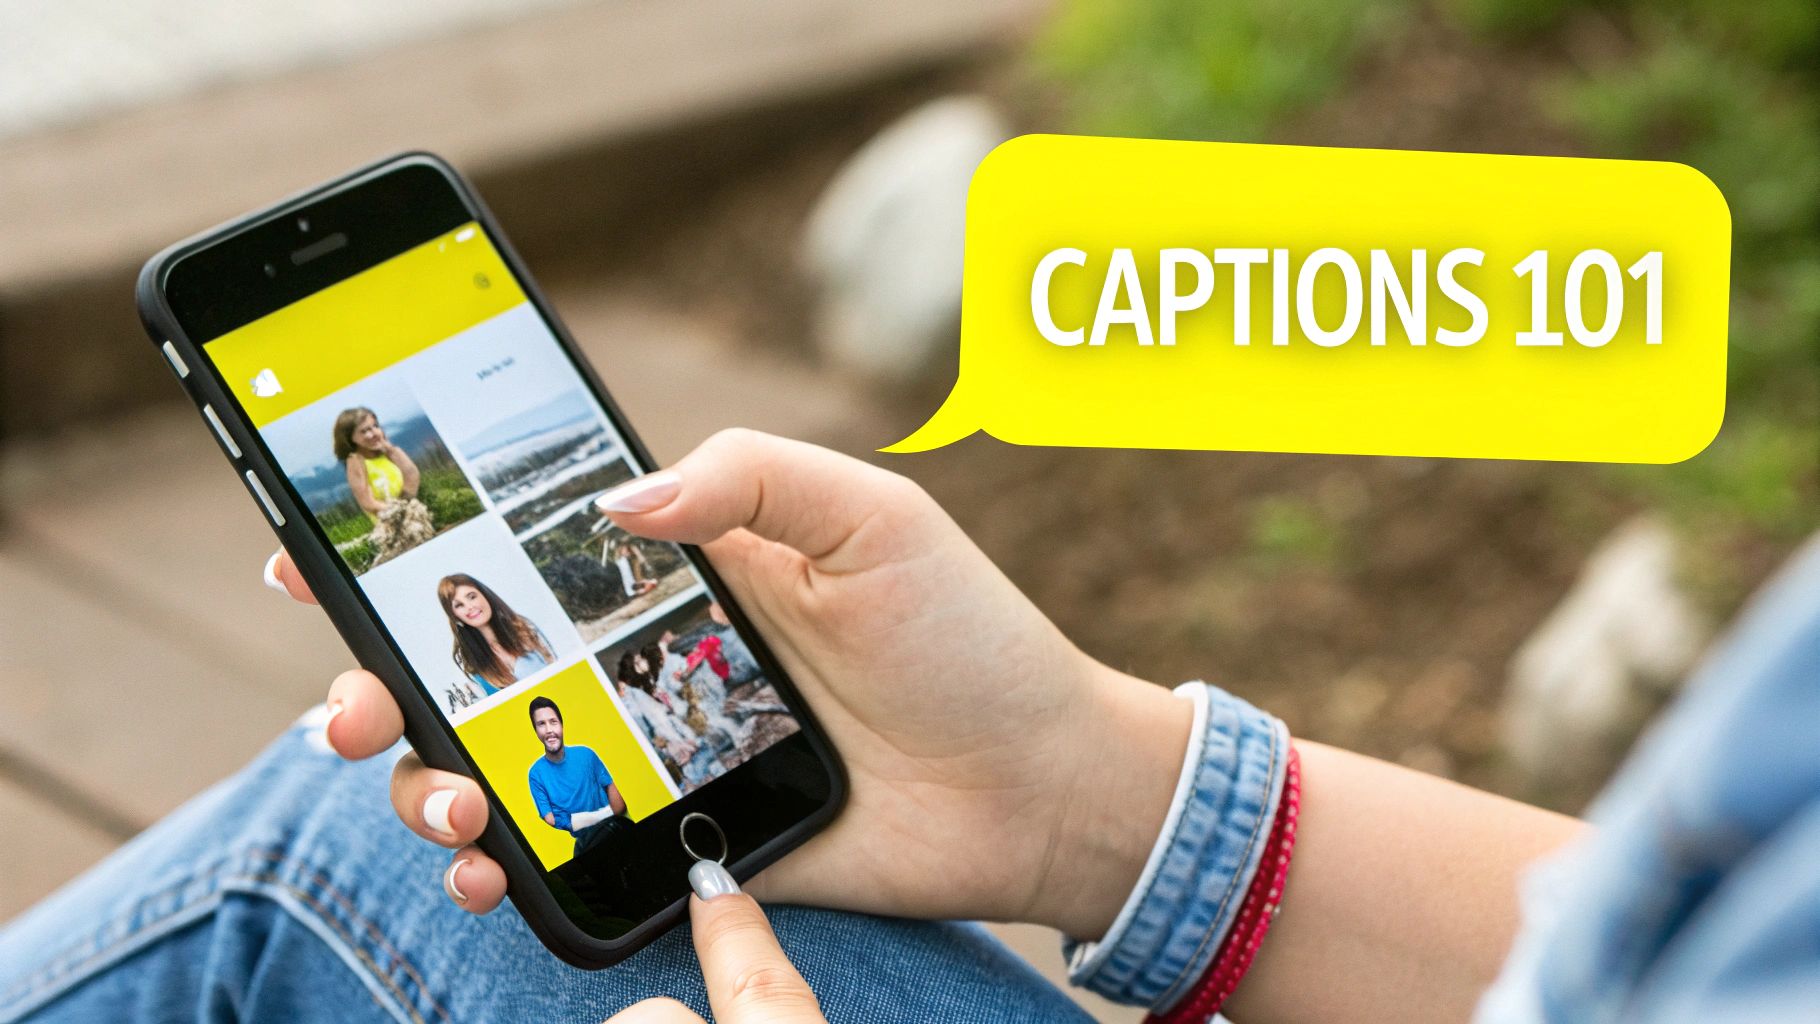
Remove Caption from Snapchat Memory Photo Easily | Guide
Those in-the-moment Snapchat captions are fun, but let's be honest, they don't always age well. The good news is you can easily remove a caption from a Snapchat memory photo. Modern AI tools can clean up the image in seconds, leaving you with a perfect, text-free picture ready for anything.
Why Bother Cleaning Up Your Snapchat Memories?
Snapchat captions are all about capturing a fleeting thought or an inside joke. While great in the moment, that text can quickly feel dated or just plain weird, turning an otherwise great photo into an awkward memory you'd never share elsewhere.
Think about it. You've got that perfect candid shot from last year's vacation, but the all-caps Snapchat text you slapped on it doesn't fit the polished vibe of your Instagram feed. Or what about that great group photo you want to use for a professional profile? The goofy caption instantly makes it unusable.
Give Your Best Moments a Second Life
The need to remove a caption from a Snapchat memory photo really boils down to one thing: repurposing. A photo that was originally meant to last 24 hours can now have a whole new life.
Once the caption is gone, you can:
- Share it anywhere: A clean photo looks great on Instagram, Facebook, or even in a physical photo frame without that distracting text.
- Create something new: That amazing sunset pic, once freed from its caption, could become a beautiful phone wallpaper.
- Preserve a cleaner memory: Sometimes, the photo itself is the whole memory, and the text just gets in the way of the nostalgia.
It’s simple: you should have control over your own images. Removing an old caption gives you the freedom to decide how your photo is seen and used in the future, long after the original Snap disappeared.
The image below shows a classic example—a great photo held back by its text overlay.
You can see how even simple text distracts from the main subject. This is why caption removal is such a useful trick and a key part of learning how to properly organize your digital photos.
With over 4.75 billion snaps flying around every single day, the need for tools to clean up saved content has never been higher. That's a staggering number of moments being captured—and a lot of photos that might need a little editing down the road.
Getting Your Photo Ready for Editing
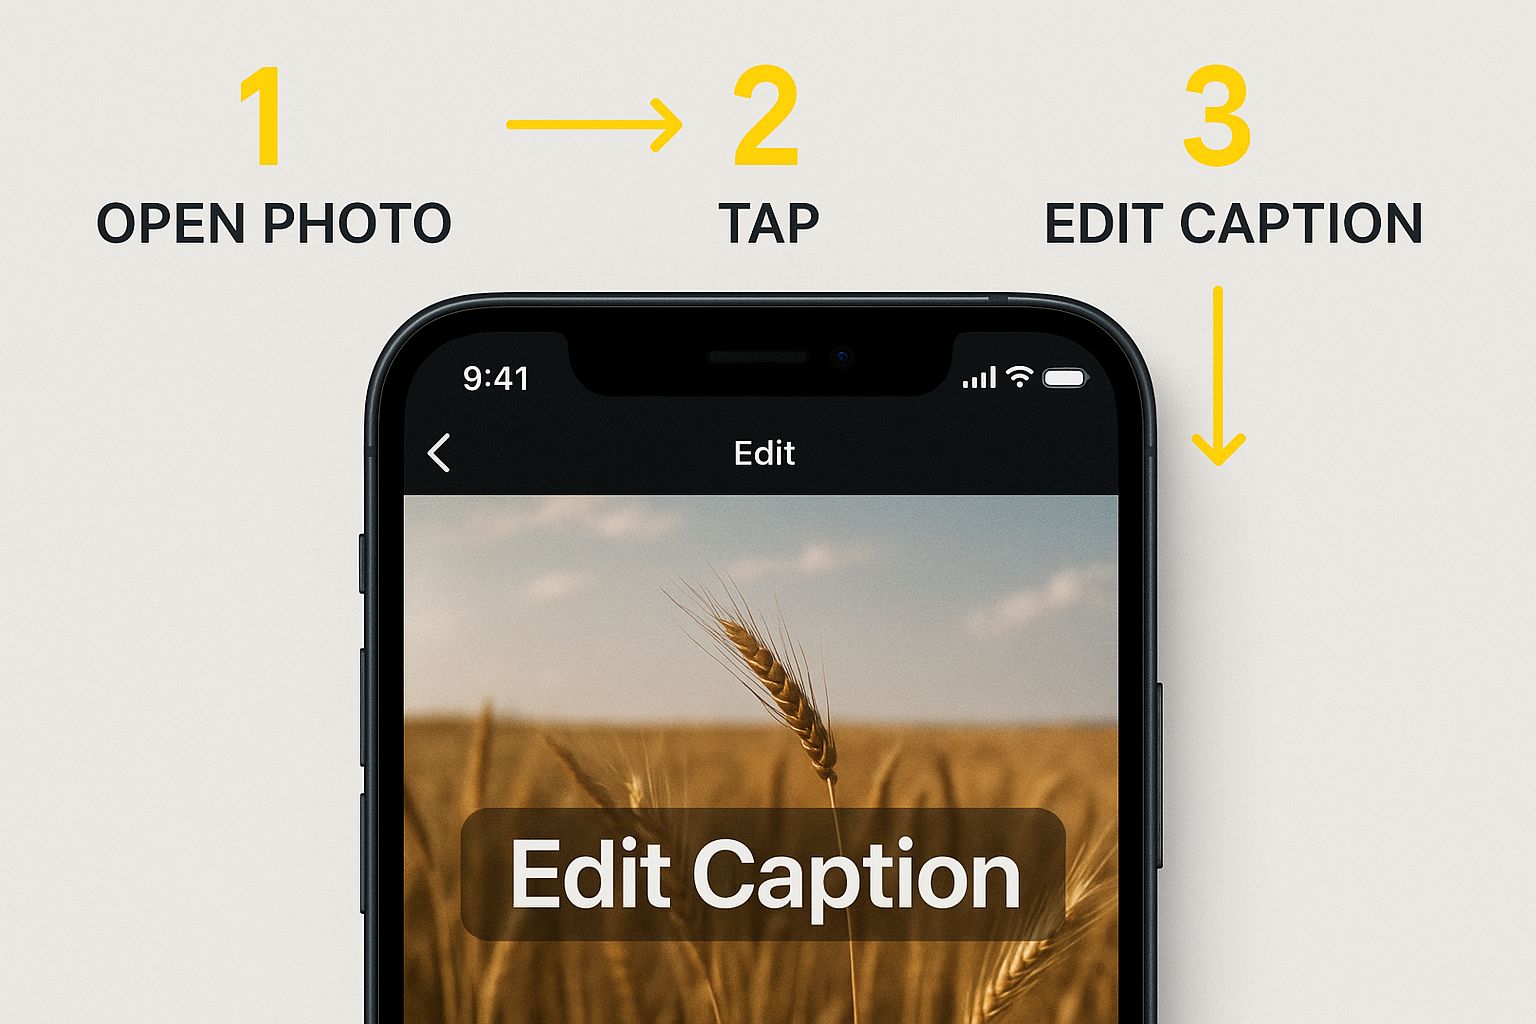
First things first, you need to get the photo out of Snapchat and onto your phone. The quality of your final, caption-free image really depends on getting this step right, but don't worry—it's quick and easy.
Open up Snapchat and swipe up to pull up your Memories. Find the photo you want to work with and tap on it. You'll see a three-dot menu icon, usually tucked away in the top-right corner. Go ahead and tap that to see your options.
Exporting Your Image Correctly
In that menu, look for "Export Snap." When you select it, Snapchat will ask what you want to do with the photo. The goal here is to save it directly to your phone's camera roll or gallery.
Make sure you choose the highest quality option available when you export. This gives our AI editor the cleanest possible image to work with, which helps avoid any weird pixelation or blurriness later on. If you're having trouble, we've got a detailed walkthrough on how to save your Snapchat photos properly that breaks it all down.
Once it's saved, pop over to your phone’s gallery and zoom in on the photo. Is it still sharp? A crisp, clear starting image is the secret to a perfect edit.
If everything looks good, you're ready to go. If it's a bit fuzzy, you might want to try exporting from Snapchat again. Starting with a great photo is one of the most essential phone photography tips out there, because it makes everything that comes after so much easier. A clean starting point is the best way to guarantee a clean finish when you remove the caption from your Snapchat memory photo.
Using AI Tools to Erase the Caption Seamlessly
Alright, you've got your high-quality Snapchat photo saved. Now for the fun part: making that caption disappear for good.
This is where a dedicated AI tool comes into play. It digitally erases the caption and intelligently rebuilds the background behind it, leaving your photo looking clean and natural. Snapchat itself won't let you remove text from a saved Memory, but plenty of great third-party editors are built specifically for this.
These tools work by analyzing the pixels right around the text. They make an educated guess about what the background should look like and then essentially paint over the caption. It feels a bit like magic, but picking the right tool and using it properly is what makes the difference. We'll walk through the process using a simple, web-based tool as our example.
Uploading and Highlighting the Caption
First things first, you need to get your photo into the editor. Most of these tools have a big, obvious "Upload Image" button or a space where you can just drag and drop your file.
Once your photo loads, you’ll usually see a brush or selection tool appear. Your job is to carefully paint over the entire caption you want to get rid of. This is the most important step. Don't just cover the text—make sure you also highlight the semi-transparent box that Snapchat puts behind the words. If you miss a spot, you'll end up with a weird, discolored rectangle on your finished photo.
As you can see, getting full coverage over both the text and its shadow is key for a flawless result.
Here are a couple of quick tips I've learned from experience:
- Zoom In: Get up close and personal with your photo. Zooming in gives you way more precision to get the edges of that caption box just right.
- Adjust Brush Size: Play with the brush size. You want it big enough to cover the text easily but small enough to give you control around trickier spots.
Comparing Caption Removal Methods
Before you jump in, it helps to know your options. AI removers are fantastic, but they aren't the only way to tackle unwanted text.
| Method | Effectiveness | Ease of Use | Best For |
|---|---|---|---|
| AI Object Removers | High - often seamless on simple backgrounds. | Very Easy | Quick, high-quality results without needing technical skills. |
| Cloning/Healing Tools | Very High - professional-grade results. | Moderate to Difficult | Complex backgrounds where precision is critical; requires software like Photoshop. |
| Cropping the Image | Low to Moderate - you lose part of the photo. | Extremely Easy | When the caption is near an edge and you don't mind a tighter frame. |
For most people, the speed and simplicity of an AI tool make it the clear winner. You get great results in seconds without a steep learning curve.
Letting the AI Work Its Magic
Once you've highlighted the caption and its background, just hit the "Remove" or "Erase" button. This is where you hand things over to the AI.
The software will process your selection and, in just a few seconds, it will show you a before-and-after comparison. You’ll see your original photo next to the newly edited one, with the caption completely gone.
If the result isn't quite perfect on the first go—which can happen with a really busy or detailed background—don't worry. You can usually just make another quick pass with the brush to clean up any lingering artifacts.
The tech behind this is pretty impressive. If you're curious, you can learn more about how an AI Snapchat text remover actually works. With a little bit of care, you can easily remove a caption from a Snapchat memory photo and get your original picture back, looking as good as new.
Refining Your Edit for a Flawless Finish
While the AI does a fantastic job, it's not always a one-and-done deal. Sometimes, especially with a busy or detailed background, the tool might leave behind a faint blur or a small digital smudge where the caption used to be. Don't sweat it—this is totally normal and easy to clean up with a little extra attention.
Think of the first pass as your broad-stroke work. Now it's time to zoom in for the fine-tuning. If you spot a slightly blurry area, the best move is to take a second pass. Just grab a smaller brush size and carefully paint over only the imperfection. This tells the AI to concentrate its power on that one tiny spot, which almost always results in a much smoother, more natural blend.
Tackling Tricky Backgrounds
So, what do you do when the caption is sitting on something complicated? An intricate pattern, a textured wall, or even worse, part of someone's face? This is where you need to get a bit more strategic to remove the caption from your Snapchat memory photo without leaving a distorted mess.
The secret is to work in smaller, more deliberate chunks. Instead of trying to wipe out a whole sentence in one go, break it down.
- Go Word by Word: Try erasing just one or two words at a time. This gives the AI less to think about and a smaller background area to replicate, which dramatically boosts the accuracy.
- Mind the Edges: Pay close attention to where the text meets a sharp line in your photo, like the edge of a building or the seam of a shirt. Removing these parts carefully helps the AI preserve those crisp lines.
- Manual Touch-Ups: For stubborn spots, some advanced editors have a "heal" or "clone" tool. These let you manually copy a clean part of the background and paint it right over any leftover smudges, giving you ultimate control.
The goal is to guide the AI, not fight it. By breaking a complex removal into several simple steps, you make the task easier for the software and achieve a more professional, natural-looking result.
Picture this: the caption is stretched across a brick wall. Erasing the whole thing at once might smear the mortar lines into a blurry mess. But by removing a few words at a time, you let the AI correctly recreate the brick-and-mortar pattern in small, convincing pieces. This patient approach is the key to getting a perfect finish on even the most challenging photos.
Bringing Your Clean Photo into the World
You’ve done it. The AI has worked its magic, the caption is gone, and your photo looks fantastic. So, what’s next? Let’s get that masterpiece saved and ready to share.

Before you download, pay attention to the file format options. I almost always go with PNG if I’m keeping the photo digital. It’s a "lossless" format, which just means it keeps every single pixel of detail exactly as you see it. For something that needs a smaller file size, a high-quality JPG works just fine.
Keeping Your Photos Organized
Here’s a little tip I’ve learned over the years: never save over your original file. A simple trick is to add "_edited" or "_nocaption" to the end of the new filename. Trust me, this small habit will save you a headache later when you’re trying to find a specific version. It keeps your photo gallery tidy and you’ll always know which is which at a glance.
Now that your Snapchat memory is caption-free, the possibilities open up. Sure, you can post it on other social media, but think bigger! A clean, high-resolution photo is the perfect canvas to create custom photo gifts for people you care about. It’s amazing how a simple digital memory can become a real, tangible keepsake.
Key Takeaway: Always export your photo at the highest resolution possible. You can easily downsize a large, high-quality image, but you can't add detail back into a small, pixelated one.
Got Questions About Removing Snapchat Captions? Let’s Clear Things Up
If you’re looking to clean up a Snapchat memory, you probably have a few questions. I get it. You want to know what you’re getting into before you start editing. Let's tackle some of the most common ones I hear.
First off, a big one: can you just remove the caption inside Snapchat itself? Unfortunately, no. Once you save a Snap to your Memories with a caption, that text is baked into the image file. You can only edit or delete the text before you hit save.
Will AI Mess Up My Photo Quality?
This is a huge concern for a lot of people. You don’t want to trade a caption for a blurry, pixelated mess, and that's a completely valid worry.
Thankfully, good AI editors are built to avoid this. They’re pretty smart about how they work, analyzing the pixels around the caption to seamlessly fill in the background.
- Smart Pixel Filling: Instead of just smudging the area, the AI actually generates brand-new pixels that blend in with the original background’s texture and color.
- Keeps Your Resolution: A solid tool will always give you back the edited photo in the same high resolution as the original you uploaded.
The best advice I can give is to start with a clear, high-quality image. If the source photo is already fuzzy, the AI can only do so much.
Are These Third-Party Editing Apps Safe?
Handing over personal photos to a random website can feel a bit sketchy. It's smart to be cautious and pick a tool that takes your privacy seriously.
Here's what to look for: a service that processes your images right in your browser and automatically deletes your files from their servers after a short time. This means your memories stay yours and aren't just sitting on someone else's hard drive. Always give the privacy policy a quick scan before you upload anything.
Knowing these things should help you feel much more confident about getting a clean, high-quality photo without any headaches.
Ready to give it a try? Head over to SnapCaptionRemover for a quick, free, and secure way to erase that text. You can try it now at https://www.snapcaptionremover.com.