How to Remove Snapchat Filter Text from Any Photo
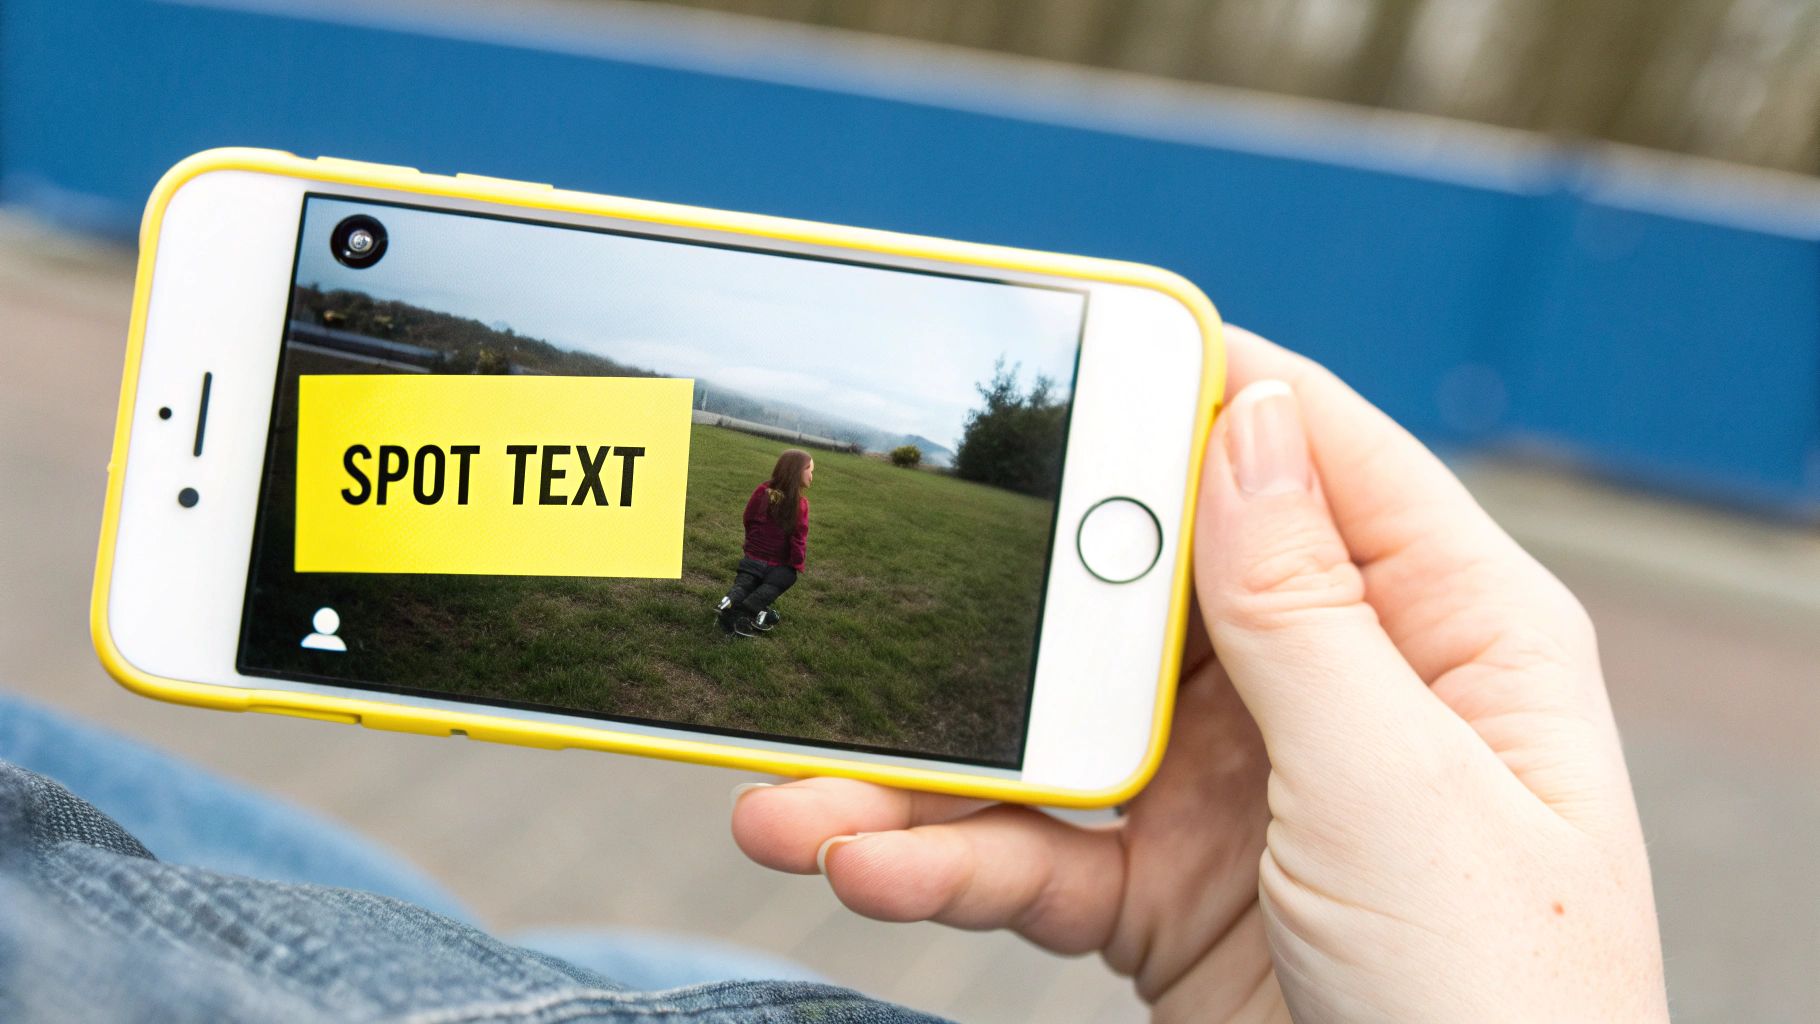
You've been there. You snap the perfect photo, add a caption that feels brilliant at the moment, and save it. But later, that same text or location tag just ruins the whole vibe. Thankfully, figuring out how to remove Snapchat filter text is easier than you think. Modern AI tools can wipe those overlays away in seconds, giving you back the original photo without needing to be a Photoshop pro.
Why Bother Removing Snapchat Text?
Ever scroll through your camera roll and cringe at an old Snapchat caption? You’re not the only one. There are a bunch of good reasons to want to clean up our digital memories, and it's not always just about how they look.
Making Content Work Everywhere
A huge reason is simply wanting to reuse your stuff. That awesome video from a concert would be a perfect Instagram Reel, but the giant Snapchat text across the middle instantly makes it look like a repost. Getting rid of that text gives you a clean slate, so your video or photo feels native no matter where you post it.
Turning Snaps into Timeless Memories
Another big driver is making memories last. A caption with a date or an inside joke might feel a little stale a few years down the line. When you strip away the text, you’re left with a pure moment that works just as well in a digital photo frame as it does in a printed album. It aligns with the basic principles of visual communication—a clean image often carries more weight and lasts longer.
The main problem is that once you save a Snap, the text is burned right into the image file. There's no "undo" or "delete layer" button. That’s exactly why we need specialized tools to do the heavy lifting.
Key Takeaway: Stripping text from your Snaps isn't just about cleaning up a picture. It's about making your memories more versatile, professional, and timeless for any use you can imagine.
Snapchat filters and text have been a core feature since they rolled out in 2015. With the platform expected to hit over 531 million users by 2025, the need to tidy up these saved moments is only going to get bigger.
Choosing the Right Tool for the Job
Not all text removal methods are built the same. Before you even think about editing, take a good look at your photo. The right approach depends entirely on what you're working with and how much time you want to spend.
The most important thing to consider is the background behind the text. Is the caption sitting on a simple, flat-colored surface like a wall or a clear sky? Or is it slapped over something complicated, like a patterned shirt, a crowd of people, or a detailed landscape? This one factor will make or break your results.
A Quick Rundown of Your Options
Let's walk through the three main ways you can tackle this.
-
One-Click AI Tools: We're talking about dedicated websites like SnapCaptionRemover or the magic eraser features you find in modern photo apps. These are your go-to for speed and ease. You literally just paint over the text, and the AI works its magic to rebuild what was underneath. This is hands-down the best choice for simple backgrounds.
-
Pro-Level Desktop Software: Think Adobe Photoshop or the free alternative, GIMP. These give you surgical control with tools like the Clone Stamp and Healing Brush. You're manually sampling parts of the image to paint over the text, which is perfect for tricky, detailed backgrounds where AI often gets confused and leaves a blurry mess. The tradeoff? It takes practice and patience.
-
Basic Mobile Photo Editors: Most built-in phone editors have a simple "erase" or "heal" feature. These are fantastic for tiny fixes, like getting rid of a small emoji or a single word. But if you try to remove a full sentence, you'll likely end up with a smudged, obvious-looking patch.
My Two Cents: Always start with the path of least resistance. Give an AI remover a shot first. You'd be surprised how often it works perfectly in just a few seconds, saving you from firing up the heavy-duty software.
At the end of the day, it's about matching the tool to the task. A quick, automated app is perfect for a casual selfie. But for that one great shot with a busy background, you might need to roll up your sleeves and do it manually.
A Quick Comparison of Text Removal Methods
Use this table to choose the right tool based on your needs, skill level, and desired outcome.
| Method | Best For | Ease of Use | Quality of Result |
|---|---|---|---|
| AI Removers | Simple, uniform backgrounds and speed | Very Easy | Excellent (on simple backgrounds) |
| Desktop Software | Complex, detailed backgrounds and precision | Difficult | Professional (with skill) |
| Mobile Editors | Very small, minor text or blemish removal | Easy | Fair to Poor (on large text) |
Choosing correctly from the start saves a ton of frustration. If the background is simple, stick with AI. If it's complex, you'll get a much cleaner result by learning a manual tool like Photoshop.
Using AI Tools for Effortless Text Removal
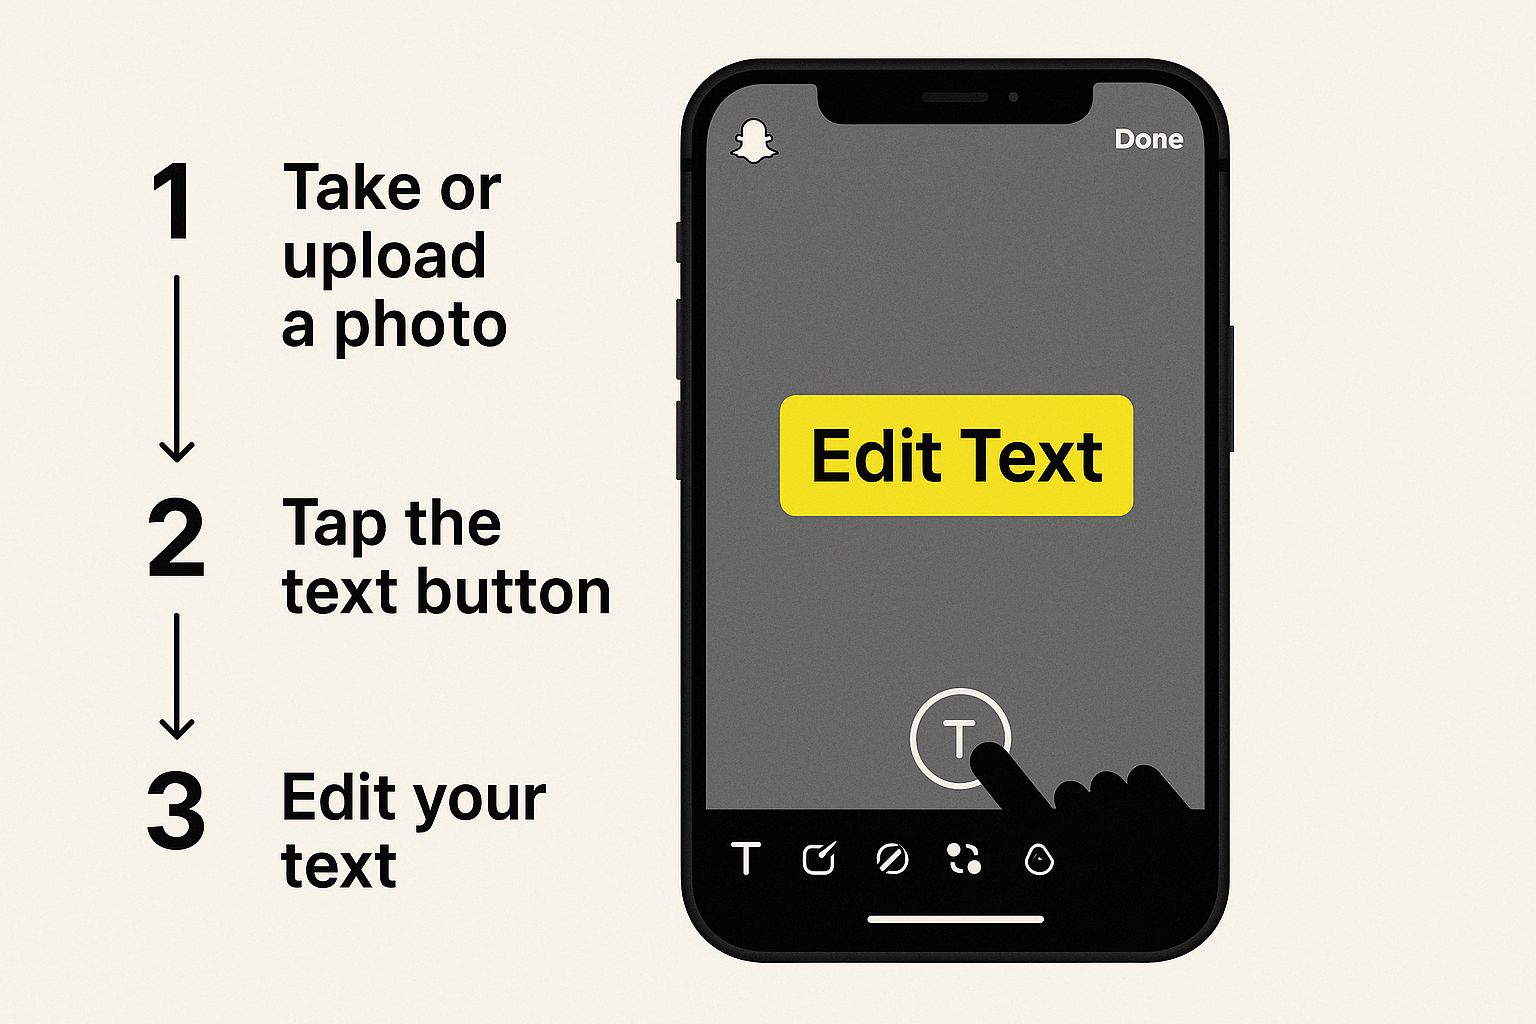
If you want a clean, fast way to get text off your saved Snaps, AI-powered tools are the way to go. You can completely skip the headache of learning complicated software. Modern AI tools make it surprisingly easy to just wipe away text, leaving you with a natural-looking photo or video in a few seconds.
The whole process is usually just two simple steps. First, you upload your image. Then, you use a brush tool to "paint" over the text you want gone. It's really that simple—just highlight what you don’t want.
Painting Over the Text for a Clean Finish
After you’ve highlighted the text, the AI takes over. For the best results, make sure your selection covers the entire text area, including any subtle shadows or outlines around the letters. This is a common mistake, but paying attention to it helps prevent that weird "ghosting" effect where you can still see a faint outline of the old text.
Here’s what that highlighting process looks like in a typical app editor:
As you can see, it’s just a matter of selecting the text so the AI knows exactly what to remove.
Feel free to zoom in to be more precise, especially if the text is small or sitting on a really busy background. The more careful you are with your selection, the cleaner the final image will be. Once you're happy with the selection, you just hit a button and the AI fills in the background for you.
Pro Tip: If the first pass isn't quite perfect, just run the tool again on any lingering blurry spots. A quick second pass on a smaller area is often all it takes to get it looking flawless.
Why AI Is the Superior Choice
AI has completely changed how we can edit these kinds of photos. In the past, your only real option was to awkwardly crop the photo, which often ruined the whole picture. AI tools are much smarter; they analyze the pixels around the text to realistically rebuild the background.
This is a huge leap forward from older methods that often left blurry patches or weird distortions. You can actually learn more about these editing advancements and see how they stack up against other techniques.
Ultimately, for anyone who wants a reliable fix, an AI Snapchat text remover is the perfect blend of power and simplicity. It's the quickest path to a high-quality, clean image without needing any pro editing skills.
Manual Editing Techniques for Full Control
Sometimes, an automated tool just can't nail it, especially when you're dealing with a really busy or complex background. That’s when you need to roll up your sleeves and take full control. For those of us who are after pixel-perfect results, nothing beats manual editing software like Adobe Photoshop or GIMP for removing Snapchat filter text.
This isn't a one-click-and-done solution. It's about meticulously rebuilding the parts of the image that are hidden underneath the text.

The whole game plan here revolves around a couple of powerhouse tools: the Clone Stamp and the Healing Brush. Think of it like performing a tiny bit of digital surgery. You’re essentially borrowing clean textures and colors from an untouched part of the photo and carefully painting them over the caption you want to get rid of.
Mastering the Core Tools
Your main weapons in this fight are the Clone Stamp and the Healing Brush. They might seem similar at first glance, but they have distinct jobs.
- The Clone Stamp Tool is your go-to for precision. It makes an exact copy of whatever source area you select, which is perfect for replicating patterns or cleaning up hard edges where you need a perfect match.
- The Healing Brush Tool is a bit more sophisticated. It also samples from a source area, but it intelligently blends the color and brightness with the spot you’re fixing. This creates a much more natural, seamless patch-up.
Understanding a little about how text is applied to images can make removing it much easier. For a deeper dive, check out this great resource on the art and science of text overlays. And if you're ready for a step-by-step tutorial, our guide on https://snapcaptionremover.com/blog/how-to-remove-text-on-photoshop walks you through these techniques in more detail.
Crucial Tip: Always—and I mean always—work on a new layer. Duplicating your image to a separate layer above the original is a non-destructive workflow. It means you can mess up, erase, and start over as much as you need without ever damaging your original photo.
Another pro tip is to use a soft-edged brush. Hard edges leave obvious, jarring lines that just scream "edited!" A feathered, soft brush helps your edits blend invisibly into the rest of the image. It definitely takes more patience, but the flawless results you can get on those tricky backgrounds make it totally worth the effort.
Common Mistakes to Sidestep
Even with a great tool, it's easy to end up with a sloppy edit if you're not careful. When you're trying to get rid of that Snapchat text, a couple of common slip-ups can leave your photo looking smudged and unnatural. The good news? They're super easy to dodge once you know what to look for.
The biggest mistake I see people make is selecting way too big of an area around the text. If you just draw a giant box over the caption, the AI has to guess what's behind it using less accurate information. This is what causes those blurry, obviously-edited patches.
Pro Tip: Don't do it all in one go. Zoom right in and make several small, precise selections. This gives the software much cleaner background data to pull from, and the final result will be far more believable.
Pay Attention to the Little Things
Another classic error is completely forgetting about the text's shadow or faint outline. You might erase the letters perfectly, but you're left with this ghostly silhouette that just screams "this photo has been retouched."
To get around this, make sure your selection tool covers everything—not just the letters, but any little visual artifacts hanging around them. Taking a few extra seconds to be thorough here really pays off.
Here are the two main things to double-check:
- Shadows: Look closely for any faint shadows the text is casting and paint over them.
- Outlines: If the text has a border or a glow, make sure your selection covers that entire effect.
Nailing these small details is the key to getting a final image that looks clean and totally untouched. No one will ever know you did a thing.
Still Have Questions About Removing Snapchat Text?
Got a few more things on your mind? Let's clear up some of the most common questions people have when they're trying to get rid of text on their saved Snaps.
Can You Actually Remove Text From a Snapchat Video?
Yes, you absolutely can. It’s definitely a bit more complex than zapping text off a still photo, but modern video editors are surprisingly good at this.
Tools like Filmora or even the mobile app CapCut come packed with AI-powered object removal features. You essentially highlight the text in one part of the video, and the software is smart enough to track and erase it as the video plays. For videos with a lot of shaky camera movement or a busy background, you might have to tweak it a bit to keep things looking seamless.
Does Removing the Text Ruin the Image Quality?
Not if you do it right. High-quality AI tools and careful manual editing in a program like Adobe Photoshop are built to preserve the original quality. They work by intelligently rebuilding the pixels behind the text, so you'd never know it was there.
The real danger to your photo's quality comes from using sketchy, low-resolution online tools or accidentally over-compressing the image when you save the final version.
Pro Tip: Always work with the highest-resolution version of the photo you have. When you’re done, save or export it at a high-quality setting. This is the key to keeping your final image looking crisp and clean.
What About Removing an Entire Filter Effect?
This is where things get tricky. Trying to remove a full filter—one that changes the lighting, colors, and overall vibe of the photo—is often impossible to do perfectly. Unlike a text box that sits on top of the image, a filter alters the entire thing.
While you can play with color grading and lighting adjustments in an editor to try and reverse the look, you can't truly revert it back to the original, unfiltered shot. The methods we've covered here are designed for isolated elements like captions and stickers.
For a deeper dive on this, check out our post on whether you can you remove text from a saved Snapchat photo.
Ready to see it in action? Give SnapCaptionRemover a try and watch that unwanted text disappear in seconds. It’s free and works right in your browser. https://www.snapcaptionremover.com