AI Remove Text From Image: Easy Tools & Tips
Why Clean Images Matter More Than You Think
Have you ever found the perfect image for a project, only to see it's cluttered with a distracting text overlay? Whether it’s a brand watermark on a stock photo or a random timestamp on a family picture, that unwanted text can completely ruin the shot. It’s not just about looks; it's about making sure your message comes through clearly and professionally.
Our brains are wired to understand images almost instantly, but extra text creates mental clutter. A clean, clear image lets your audience immediately grasp the subject. When an image is busy, their brains have to work harder, and they're more likely to just keep scrolling. This is exactly why the ability to ai remove text from image files is becoming a must-have skill for anyone creating content.
The Rise of AI-Powered Visuals
The need for crisp, engaging visuals has sparked some incredible growth in technology. The global AI market, which includes these powerful editing tools, ballooned to $279 billion in 2024—a huge leap from just $80 billion in 2023. This growth is all about making professional-grade editing available to everyone, not just experts.
In fact, a recent survey revealed that 58% of photo editors now use AI tools as part of their regular workflow. This isn't a small shift; it shows that creators and businesses are increasingly relying on AI to produce better content more quickly. If you're interested in the numbers, you can dive deeper into the full report on AI image statistics.
Ethical and Responsible Use
Of course, with this new power comes a bit of responsibility. Using a tool to ai remove text from image assets is fantastic for tidying up your own photos or stock images you've licensed. For instance, removing an old promotional banner from a product shot you own the rights to is a common and perfectly fine marketing task.
However, it's a different story when it comes to copyrighted material. Erasing watermarks from images you don't have permission to use is a big problem. Before you start editing, always make sure you have the rights to alter the image. This protects you and respects the hard work of the original creator, which is fundamental to using these tools professionally.
Getting Started With SnapCaptionRemover Like a Pro
Let's jump right in and learn how to use SnapCaptionRemover the right way, so you get clean, professional-looking images from your very first attempt. You can think of it as your secret weapon to ai remove text from image files. The real magic, however, happens when you prepare your images correctly beforehand. This simple prep work is often what separates a perfect removal from a blurry, messy result.
Preparing Your Images for Success
Before you even get to the upload button, let's talk about image quality. For the best results, you'll want to use high-quality JPGs or PNGs. These formats hold onto the important details the AI needs to intelligently rebuild the background after the text is gone. If you feed the AI a low-resolution or heavily compressed image, it’s like asking it to work with a fuzzy picture—it just can't fill in the gaps accurately.
Here are a few things I always keep in mind:
- Resolution is Key: An image with more pixels gives the AI more information to work with. If your source image is pixelated, the final result will be too.
- Check File Size: Every platform has its limits. If your file is too large, it might not upload or process correctly. You can always resize it a bit, but try not to lose too much quality in the process.
- Crop the Clutter: If you can, crop out parts of the image that aren't important. This helps the AI focus all its power on the area that needs fixing, which can make the process faster and more accurate.
Decoding the User Interface
After you upload your image, you'll see the interface is refreshingly simple. There aren't a ton of confusing buttons or settings. The tool is trained specifically on Snapchat-style captions, so its automatic detection usually nails it and highlights the text box for you.
But for those trickier photos where text blends into a busy background or sits on top of important details, you have the manual selection brush. This tool is your best friend for gaining precise control. Learning to use this simple brush means you can handle almost any text removal challenge that comes your way.
Mastering Text Selection Without the Guesswork
This is where you can really gain an edge. Getting your text selection right isn't just about dragging a box and hoping for the best; it’s about understanding how the AI "sees" your image. The secret to clean, professional edits is knowing when to trust the automatic detection and when it's time to take the wheel yourself. The idea is to work with the technology, not fight against it.
For example, the automatic feature in an ai remove text from image tool is fantastic for high-contrast text on a simple background. But what about a faint, see-through watermark layered over a complex pattern, like a floral dress or a busy cityscape? This is where manual control becomes your best friend. Instead of trying to grab the entire text block at once, focus on smaller, more manageable pieces, especially where the text crosses over different background textures.
Your Strategy for Tricky Selections
Think about it this way: if the text has a shadow or a glow effect, the AI might get tripped up on where the text stops and the background starts. In situations like this, you should make your selection slightly larger than the text itself, making sure to include the entire special effect. This gives the AI more information to work with when it rebuilds the background. For a closer look at different approaches, our guide on how to remove text from image online provides more detailed examples.
To help you decide which approach to use, here’s a quick breakdown of selection strategies based on the type of image you're working with.
| Background Type | Recommended Tool | Difficulty Level | Success Rate |
|---|---|---|---|
| Solid/Simple Color | Automatic Selection | Easy | Very High |
| Complex Pattern | Manual Brush (small sections) | Medium | High |
| Transparent Watermark | Manual Brush (low opacity text) | Medium-Hard | Moderate-High |
| Text with Shadows/Glows | Manual Brush (select beyond text) | Medium | High |
This table shows that while automatic selection is great for easy jobs, manual control is essential for tackling more complex images and achieving consistently good results.
The basic process is pretty simple, which lets you put your energy into perfecting your selection skills.
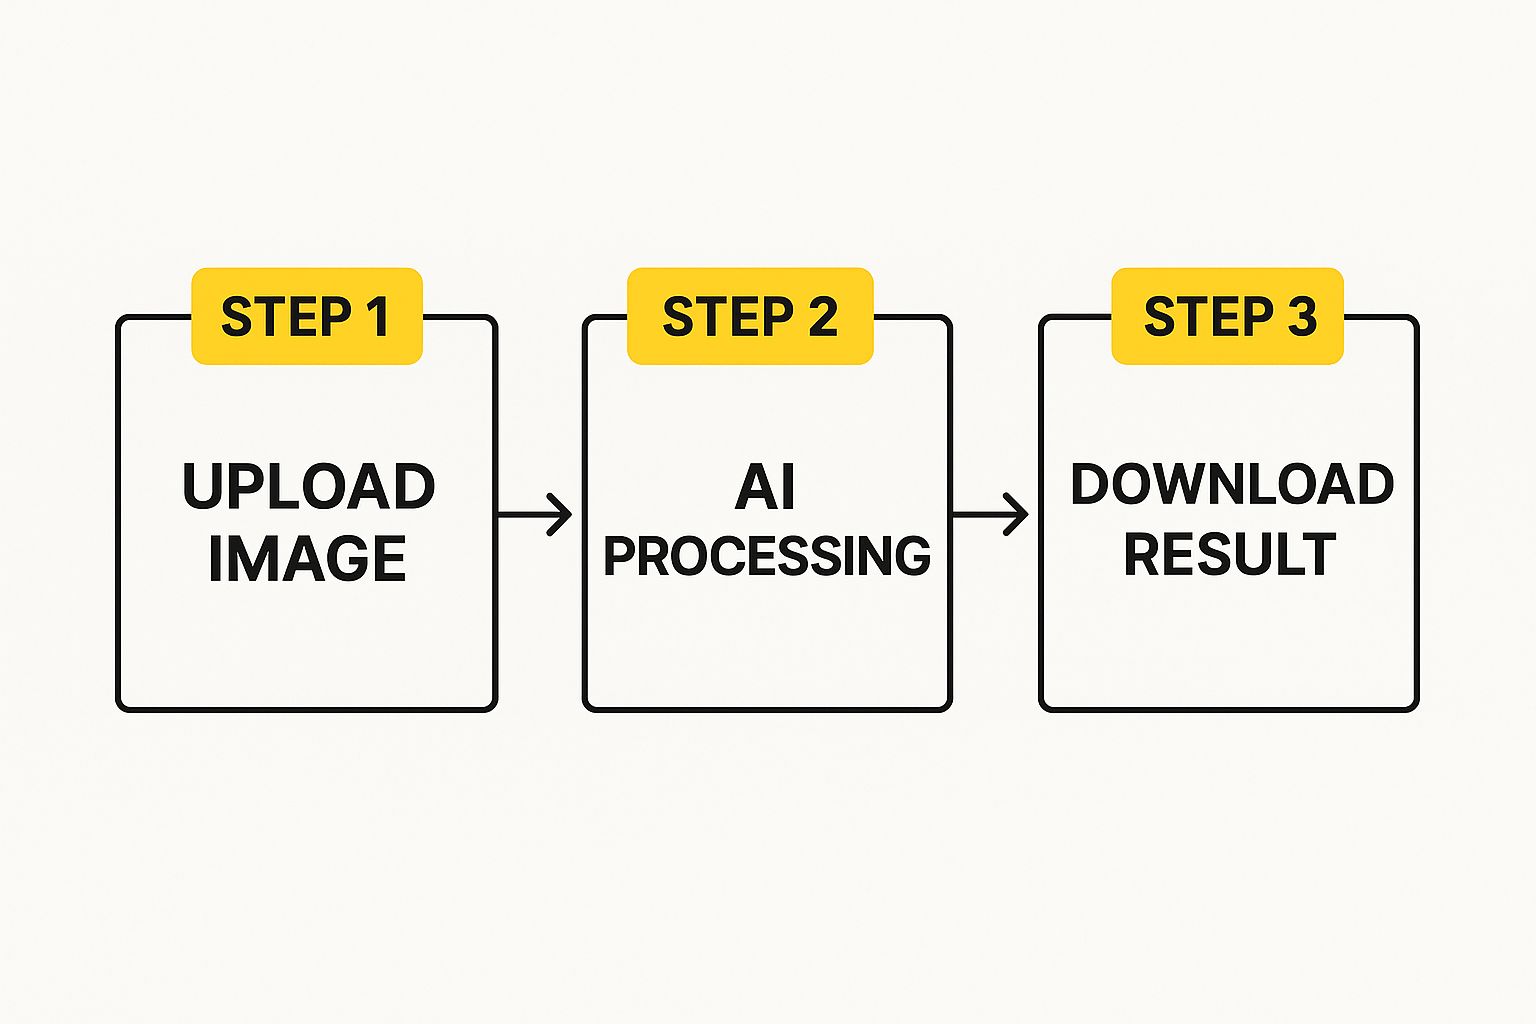
This visual breaks down the technical steps, highlighting that the most important user action happens right before the AI does its magic. Your selection strategy is what really makes the difference between a seamless result and a sloppy-looking edit. Always remember, the goal isn't just to get rid of the text, but to make it look like it was never there in the first place.
Tackling Complex Text Removal Like a Professional

When you're trying to ai remove text from image files, you’ll quickly find that some jobs are much tougher than others. Text that’s stretched over a busy pattern, semi-transparent watermarks, or words with color gradients can feel downright impossible to fix. The secret is to stop thinking of it as a single click and start treating it as a multi-step process. This is how the pros break down these challenges into smaller, more manageable pieces.
Instead of trying to wipe out all the text in one go, concentrate on one section at a time. This is particularly helpful when the text crosses over different background textures, like from a person's shirt onto a brick wall behind them. This methodical approach gives the AI a better chance to generate a seamless, accurate fill for each specific area.
Advanced Strategies for Tough Cases
For the most stubborn text, a single pass might not cut it. Don’t hesitate to perform an initial removal, download the result, and then re-upload it for a second round of editing. I've found this two-step technique to be incredibly effective for clearing up faint artifacts or "ghosting" that the first attempt might have left behind.
Here are a few pro tips I've picked up for tricky situations:
- Curved or Warped Text: Carefully trace the text with the manual brush. Make sure your selection extends just a little beyond the text's edges to catch any shadows or distortion.
- Gradient Text: Select the entire word, including all the different color variations. This provides the AI with the full context it needs to rebuild the image underneath naturally.
- Overlapping Elements: If you have text on top of other text, always remove the topmost layer first before working on what’s underneath.
The great news is that specialized tools have made these tasks much more approachable. Platforms like SnapEdit and Cleanup.pictures are brilliant at isolating text and reconstructing complicated backgrounds, showing just how far this technology has come. Their popularity highlights a clear trend toward automated tools that save us time without sacrificing image quality.
To see how different tools stack up, you can find more information about the best AI text removers for your photos. If you're just getting started, don't forget to check out our complete guide on how to remove text from image files for more foundational tips.
Navigating Ethics and Legal Boundaries Responsibly
The ability to ai remove text from image files with a simple click is a game-changer, but it's important we talk honestly about how to use this tech the right way. Just because something is easy doesn't automatically make it ethical. Knowing where the lines are will keep you out of serious trouble and let you be creative without crossing them. The main thing it boils down to is whether you have the right to use and change the image in the first place.
When Is It Okay?
Using AI text removal tools is perfectly fine in a few everyday situations. For instance, if you're cleaning up your own photos—like getting rid of a timestamp from a great vacation shot or a goofy Snapchat caption from a personal memory—you're in the clear. It's your content, and you have every right to edit it.
If you're running a business or working in marketing, it's also completely acceptable to use these tools for:
- Updating your product photos by removing old promotional text.
- Tidying up stock images that you've properly licensed for commercial use.
- Removing distracting text from pictures you took for your company's social media.
Where You Can Get into Trouble
The biggest ethical and legal trap is removing watermarks or copyright notices from pictures you don't own or have a license for. By early 2025, AI models have gotten so good that they can wipe out watermarks almost flawlessly. For example, Google's Gemini AI is known for its ability to seamlessly erase these identifiers. While that's impressive from a tech standpoint, it also creates a huge risk for misuse and intellectual property theft. You can find out more about this AI capability and its ethical concerns on techcrunch.com.
Always assume you cannot use an image if it has a watermark unless you get clear permission. Respecting a creator's rights isn't just a nice thing to do; it's the law.
Fixing Problems When Things Go Wrong
Even the most straightforward tool can sometimes give you a quirky result, especially when you're asking it to ai remove text from image files with complicated backgrounds. The trick is to know how to handle these common issues without getting frustrated. Instead of throwing in the towel, let's walk through how to fix the most frequent problems you might encounter.
Common Quality Problems
Sometimes, after removing text, you’ll notice little imperfections where the words used to be. These are often called artifacts. You might see a patch of color that doesn't quite match, a blurry spot, or even a faint "ghost" of the original text. This usually happens when the background behind the text is really detailed or has a lot of different textures.
A great way I've found to handle this is with a multi-pass approach:
- Run the first removal process as you normally would.
- Download the edited picture.
- Upload that new image back into the tool and run it again, focusing just on the remaining blurry or mismatched areas.
This second round almost always cleans up those stubborn artifacts, leaving you with a much cleaner final image.
Here's a look at the simple interface of SnapCaptionRemover, where the process all starts.

The clean layout is designed for getting things done quickly, but technical glitches can still pop up behind the scenes.
Technical Hiccups
Once in a while, you might hit a technical snag like an upload failing or the tool timing out during processing. Before you assume the worst, check the simple things first: your internet connection and the image file itself. Make sure the file isn't corrupted and is in a supported format like JPG or PNG.
If everything looks fine on your end, the problem might just be a temporary rush of traffic on the server. My go-to advice? Take a breath, wait a minute, and then try uploading it again. More often than not, this simple patience is all it takes to solve the issue.
To help you quickly diagnose what might be going on, I've put together this reference table. It covers the most common headaches I've seen and how to get past them.
| Problem | Cause | Solution | Prevention |
|---|---|---|---|
| Blurry Patches | The AI struggles to recreate a complex or low-detail background after text is removed. | Re-upload the edited image and run the removal process a second time on the blurry area. | Use the highest-resolution image available to give the AI more data to work with. |
| Color Mismatch | The background has subtle gradients or lighting that the AI misinterprets. | Use an external photo editor's "clone" or "heal" tool for a final touch-up on the spot. | Before uploading, try to crop the image to simplify the background if possible. |
| "Ghost" Text | Faint outlines of the original letters remain, especially with high-contrast text. | The multi-pass method (re-uploading and re-processing) is very effective for this. | If you can, choose images where text isn't placed over extremely intricate patterns. |
| Upload Fails | This is often due to a poor internet connection, a very large file, or an unsupported format. | Check your internet, confirm the file is a JPG or PNG, and try again. | Resize very large images to be under the tool's likely file size limit (e.g., < 10MB). |
| Processing Timeout | The server is experiencing high traffic, or the image is unusually complex. | Wait 60 seconds and resubmit the image. The issue is often temporary. | Avoid trying to process very large batches of images during peak hours. |
This table should act as your first line of defense when things don't go as planned. By understanding the cause, you can apply the right fix and learn how to avoid the issue next time.
Professional Techniques for Consistently Excellent Results
After you’ve worked on a few images, you begin to see the difference between a good result and a truly great one. Getting to that next level—where you can ai remove text from image files like a pro—is less about the tool itself and more about your process and how you look at the image. The aim is to build a reliable method that saves you time and delivers clean, convincing edits every single time.
One of the best habits I've developed is what I call "pre-flighting" the image. Before I even think about uploading, I take a second to assess the situation. Where is the text located? What kind of background is behind it? Is it a simple, flat color, or are we dealing with a complex texture like wood grain, fabric, or grass? This quick check helps you guess where the AI might have trouble and figure out the best way to select the text.
Building Efficient Workflows
As you get more familiar with the process, you’ll realize that not every project needs the same exact settings or approach. Creating an efficient workflow means knowing when to let the AI handle the tough parts and when your manual touch is needed. Here are a few tips that have personally saved me a ton of time:
- Batch Similar Images: If you're working on a set of photos with similar text placement and backgrounds, process them all in one go. It helps you find a good rhythm and speed things up.
- Use Keyboard Shortcuts: Take a moment to learn any available keyboard shortcuts for selecting and deselecting areas. It might not seem like a big deal, but those seconds really add up when you're editing dozens of pictures.
- Develop a Quality Checklist: Have a mental checklist ready for when you review the final image. I always check for color matching, sharp details around the edited area, and any weird, blurry artifacts the AI might have left behind.
Ultimately, mastering text removal is a mix of using the tool correctly and a bit of creative problem-solving. If you want to see more detailed examples, check out our guide on how to photo text remove for different types of images.
Ready to put these professional techniques into practice? Try SnapCaptionRemover today and see how easy it is to achieve flawless, professional-quality results on your own images.